
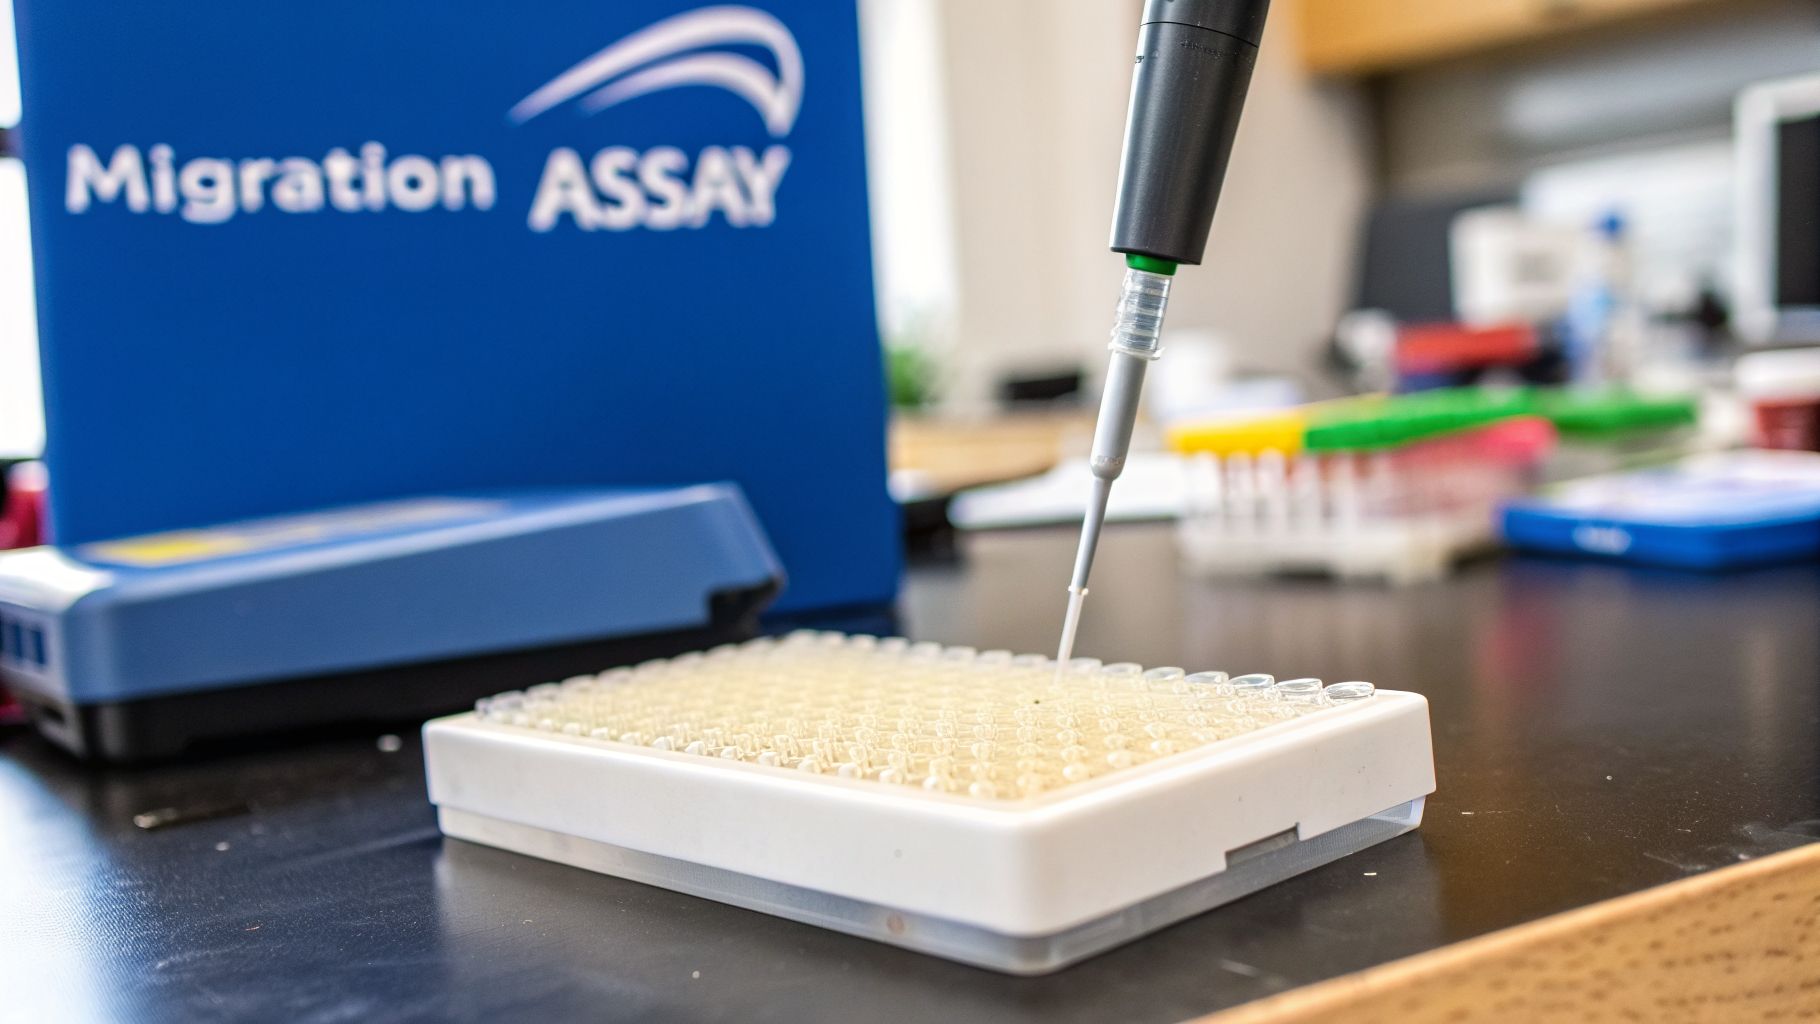
A transwell migration assay is a lab workhorse for a reason. It’s an elegant, straightforward method for watching and measuring how cells move, using a simple insert with a porous membrane to create two distinct chambers. This setup lets you build a chemical gradient and get clean, quantifiable data on how cells travel from one side to the other.
From Theory to Lab Bench: Understanding the Migration Assay
At its heart, the transwell assay mimics how cells travel in the body. Think of it as a tiny, two-story setup. Your cells start out on the top floor (the insert), separated from the bottom floor (the lower well) by a floor filled with tiny pores. Downstairs, you place a potential attractant—nutrients, growth factors, you name it. Only the cells that actively crawl through the pores to get to the “reward” are counted.
This simple design is powerful. It lets us ask fundamental questions about cell behavior, making it a cornerstone of cancer research, immunology, and tissue engineering. Of course, the transwell is just one tool in the box; putting its results into a broader context requires solid research methodology to ensure your conclusions are sound.
Chemotaxis vs. Chemokinesis: Are Your Cells Moving with Purpose?
One of the key strengths of the transwell system is its ability to distinguish between two different kinds of cell movement, and it’s a distinction that matters.
- Chemotaxis: This is directed migration. Cells are actively following a chemical trail, moving from a low-concentration area to a high-concentration one. It’s like smelling coffee brewing and walking directly to the kitchen to get a cup.
- Chemokinesis: This is random movement. The mere presence of a substance stimulates cells to move around more, but not in any particular direction. Here, the smell of coffee just gets you energized, so you start pacing around the living room.
Getting this right is crucial for experimental design. If you want to study true chemotaxis, you need to create a clear gradient. That typically means putting serum-free media in the upper chamber with your cells and media containing a chemoattractant (like serum) in the lower chamber. This setup ensures you’re actually measuring directed movement toward a specific signal.
The Foundation of Modern Migration Studies
The transwell assay isn’t some newfangled technique. Its origins go all the way back to the early 1960s with Stephen Boyden’s clever chamber design. He was the first to use a porous filter to separate two compartments, which finally made it possible to reliably study how leukocytes move toward chemoattractants.
His design used a membrane with pores—often around 8 μm in diameter—that were large enough for cells to squeeze through but small enough to prevent them from simply falling into the lower chamber. This foundational work was a game-changer. A quick PubMed search shows it has been referenced in over 15,000 papers, cementing its status as a dominant technique in the field.
The real power of the transwell assay lies in its simplicity and adaptability. By changing the membrane, the chemoattractant, or the cell type, you can model a vast range of biological processes, from immune cell recruitment to cancer metastasis.
This adaptability is exactly why the assay is still so relevant today. You have precise control over the environment, allowing you to isolate the specific variables you want to investigate. For instance, researchers studying non-small cell lung cancer use transwells to measure how genetic modifications, like overexpressing SCARNA20, directly inhibit the migration and invasion of tumor cells.
This level of quantifiable control is something you just can’t get from other methods. A wound healing (or scratch) assay, for example, is great for watching collective cell movement but falls short when you need to quantify the migration of individual cells with precision. In the sections that follow, we’ll turn this theory into a concrete, step-by-step protocol you can use in your own lab.
Preparing for Success: Your Materials and Reagents Checklist
A successful transwell migration assay is decided long before your cells ever touch plastic. Think of it like this: your entire experiment’s outcome hinges on a handful of choices you make at the bench before you even start. Get them right, and you’re set up for clear, reproducible data. Get them wrong, and you’ll spend weeks troubleshooting ambiguous results.
This isn’t just about having the right stuff; it’s about understanding why each component matters. Let’s walk through the critical choices that will make or break your assay.
Selecting the Right Transwell Insert
The entire experiment happens in the transwell insert, but this is absolutely not a one-size-fits-all situation. The two features that you must get right are the pore size and the membrane material.
The pore size is a delicate balance. It needs to be just large enough for your cells to actively deform and squeeze through, but small enough that they can’t just passively drop into the lower chamber. A poor choice here will either give you zero migration or, just as bad, false positives from gravity doing the work for you.
What’s the right size? It depends entirely on your cell type and just how motile it is.
-
3.0 µm Pores: This is the go-to for small, highly motile cells. Think lymphocytes and neutrophils. These cells are built to navigate tight spaces, and this pore size effectively stops them from just falling through.
-
5.0 µm Pores: A solid middle ground for many common cell types. This is a good starting point for various epithelial and endothelial cells, and even some mesenchymal cells like astrocytes.
-
8.0 µm Pores: This is the workhorse. It’s the most common and versatile size you’ll find in labs, and for good reason. It’s the standard for a huge range of adherent cells, including many cancer lines (like A549), fibroblasts, and smooth muscle cells. It provides plenty of room for active, directed migration.
-
12.0 µm Pores: Reserve this one for the big movers. It’s for highly invasive cells or for studying processes that involve major morphological changes, like neurite outgrowth from neurons.
The membrane coating is just as important. For a standard migration assay, an uncoated insert is all you need. But if you’re running an invasion assay—which mimics how a cell moves through tissue—the membrane needs a layer of extracellular matrix (ECM), like Matrigel. This forces the cells to actively degrade the matrix to get through, giving you a much more biologically relevant picture of invasiveness.
Choosing the Right Transwell Insert Pore Size
Selecting the right pore size is one of the most critical decisions for a successful transwell assay. The goal is to facilitate active migration while preventing passive cell movement. This table provides a starting point for common cell types, but remember that optimal size can vary based on your specific cell line and experimental conditions.
| Cell Type | Recommended Pore Size (µm) | Application Notes |
|---|---|---|
| Lymphocytes, Neutrophils | 3.0 | Ideal for small, highly motile immune cells. Prevents passive drop-through while allowing active chemotaxis. |
| Monocytes, Macrophages | 5.0 | A good balance for these larger immune cells, which are less motile than lymphocytes. |
| Endothelial Cells (e.g., HUVEC) | 5.0 or 8.0 | 5.0 µm works well for chemotaxis. 8.0 µm is often preferred for angiogenesis or sprouting assays. |
| Fibroblasts (e.g., NIH3T3) | 8.0 | The standard choice. These cells are large and require a wider pore for efficient, active migration. |
| Cancer Cells (e.g., A549, MDA-MB-231) | 8.0 | The most common size for a wide variety of adherent cancer cell lines. Excellent for both migration and invasion assays. |
| Astrocytes | 5.0 or 8.0 | Both can work, but 8.0 µm is often more reliable for these relatively large glial cells. |
| Neurons | 12.0 | Reserved for specific applications like studying neurite outgrowth, where significant cellular extension is expected. |
Ultimately, if you’re working with a new cell type, it’s always a good idea to test two different pore sizes (e.g., 5.0 µm and 8.0 µm) in a pilot experiment. This small upfront investment can save you from generating uninterpretable data down the line.
Building the Perfect Chemoattractant Gradient
With your inserts picked out, the next step is to engineer the perfect chemical signal. The entire point of a chemotaxis assay is to create an unmistakable gradient that tells your cells exactly where to go.
The easiest way to do this is by strategically using serum. Fetal Bovine Serum (FBS) is a powerful cocktail of growth factors and signaling molecules, making it a fantastic chemoattractant. The standard protocol relies on creating a stark difference between the upper and lower chambers.
The single most important rule for a clean chemotaxis experiment is this: the upper chamber media must be serum-free. Putting serum in the top chamber with your cells kills the gradient. You’ll get random, undirected movement (chemokinesis), and your results will be a muddy mess.
Your setup needs to look like this:
-
Lower Chamber: This is the well itself. Fill it with your complete media, usually supplemented with 10–20% FBS. This is the “pot of gold” that attracts the cells. For more targeted studies, you can swap out the serum for a specific growth factor like PDGF or EGF.
-
Upper Chamber: This is the insert. Your cells go in here, suspended in a serum-free basal medium (like DMEM or RPMI 1640). This “starvation” condition is what makes the cells hyper-responsive to the chemoattractant waiting below.
This dramatic contrast is what powers the whole system. Don’t mess with it.
Your Essential Reagent Checklist
Beyond the inserts and media, a few other key reagents are non-negotiable for a smooth workflow and data you can actually trust.
- Basal Medium: The choice here (e.g., RPMI 1640 or DMEM) should be whatever your cells are normally cultured in. Don’t stress them out by changing the medium right before a big experiment. Consistency is your friend.
- Trypsin-EDTA: You’ll need this to get your adherent cells off the flask. Be quick and gentle. Over-trypsinizing damages cells and will absolutely tank your migration results. You should be aiming for over 95% viability before you even think about seeding the assay.
- PBS (Phosphate-Buffered Saline): The humble workhorse for washing cells and inserts. Make sure you’re using a sterile, cell culture-grade solution. No cutting corners here.
- BSA (Bovine Serum Albumin): This is a great pro-tip. Add a tiny amount of BSA (around 0.1%) to the serum-free medium in the upper chamber. It acts as a blocking agent, preventing your cells from just sticking non-specifically to the membrane.
- Fixative & Stain: Once the migration is done, you need to see what happened. A fixative like 4% paraformaldehyde or methanol will lock everything in place, and a simple stain like crystal violet will let you visualize and count the cells that made the journey.
Gathering and prepping these components correctly isn’t just busywork—it’s the foundation of your experiment. A solid start is the best way to guarantee clear, meaningful results.
Running the Transwell Migration Assay: A Step-by-Step Protocol
You’ve selected your materials and planned your chemoattractant gradient. Now it’s time to move from theory to the bench. This is where meticulous technique turns a good experimental design into clean, reliable data. A successful migration assay transwell protocol isn’t about overly complex steps—it’s about consistency and a sharp eye for detail.
The whole process boils down to a few key phases: prepping your cells, setting up the plates, the incubation period, and finally, fixing and staining for the big reveal. Let’s walk through the exact steps seasoned lab pros use to get quantifiable results they can trust.
The Critical First Step: Cell Preparation
Your assay is only as good as the cells you start with. If you begin with a stressed or low-viability culture, you’re compromising your results before the clock even starts. Always, always begin with cells in their logarithmic growth phase and make sure viability is over 95% after you harvest them.
A non-negotiable part of this prep work is serum starvation. For any real chemotaxis experiment, you have to do this. By culturing your cells in a serum-free medium for anywhere from 2 to 24 hours before the assay, you accomplish two critical things:
- Synchronization: It quiets down the baseline signaling noise inside the cells.
- Responsiveness: It essentially makes them “hungry” and far more sensitive to the chemoattractant you’re about to add to the lower chamber.
This simple step ensures the migration you measure is a true response to your stimulus, not just random movement kicked off by leftover growth factors.
After starvation, gently detach your adherent cells with trypsin. Be quick and efficient—over-trypsinizing can chew up the very cell surface receptors you need for migration. Once they’re detached, neutralize the trypsin, wash the cells, and resuspend them in your chosen serum-free basal medium.
This diagram shows how the core decisions—your cell type, the transwell insert, and your media—are all interconnected. Getting this right is fundamental to your setup.
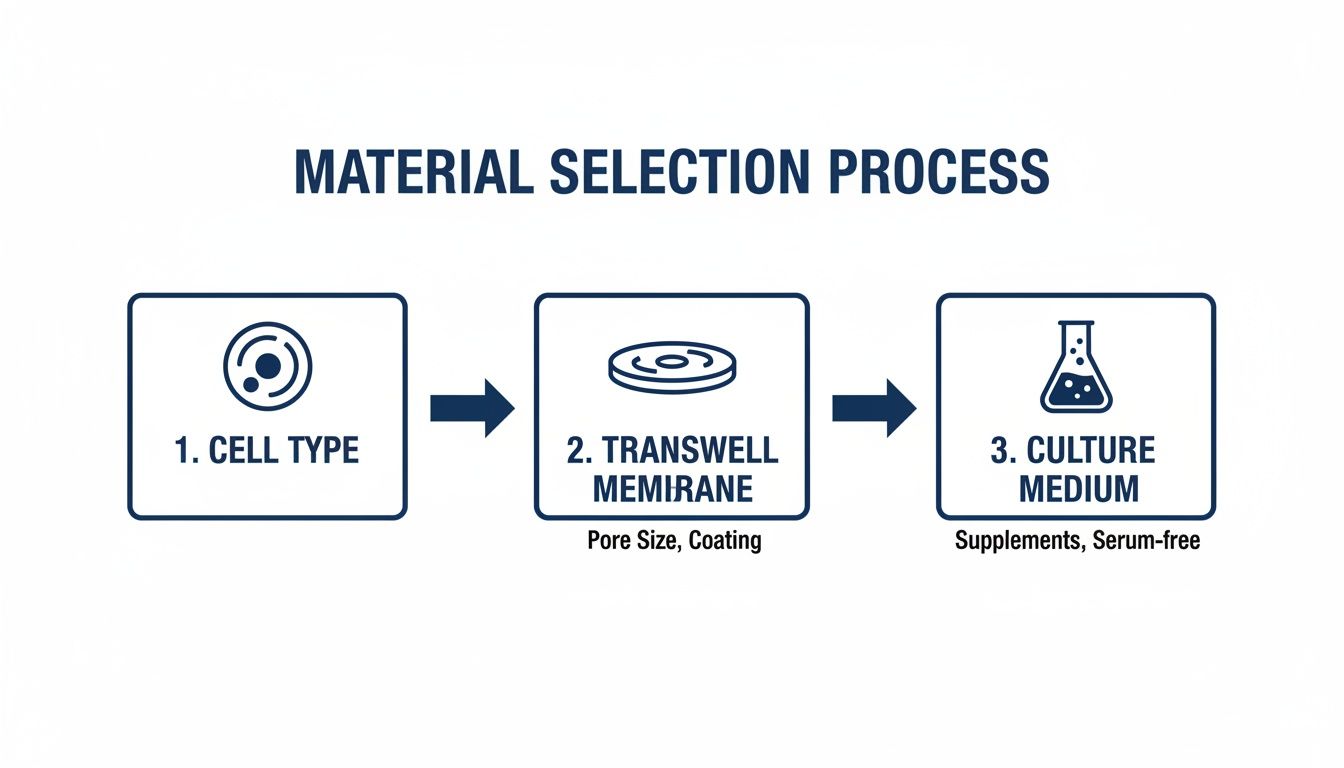
Think of it as a flow: the three components work together. You can’t choose one without considering the others.
Setting Up the Plates
With your cells ready to go, the next phase is assembling the assay plates. This is where accurate cell counting becomes absolutely essential. Use a hemocytometer or an automated counter to get a precise concentration, then dilute your cells to the final density you need for seeding.
A good starting point for many cell lines is 1 x 10^5 cells suspended in 100 µL of serum-free medium for each insert. Of course, this number isn’t set in stone. You might need fewer cells for highly motile lines or more for slower cells or longer incubations.
Here’s the sequence for a clean, reproducible setup:
- Prep the Lower Chambers: Add your chemoattractant medium (e.g., complete medium with 10% FBS) to the lower wells of your 24-well plate. A standard volume is 600 µL.
- Place the Inserts: Using sterile forceps, carefully place the transwell inserts into the wells. Lower them in at a slight angle. This prevents you from trapping an air bubble between the membrane and the medium below—a bubble will completely block the chemoattractant gradient and ruin that data point.
- Seed the Cells: Gently add your 100 µL cell suspension to the center of each insert. Don’t pipette directly onto the delicate membrane surface; you risk tearing it.
Pro-Tip: After seeding, gently tap the side of the plate a few times. This one small move helps distribute the cells evenly across the membrane, leading to more consistent migration and less variability between your replicates.
Incubation and Finalizing the Assay
Place the plate in a 37°C humidified incubator and let the migration begin. The incubation time is completely dependent on your cells. It can be as short as 2–5 hours for speedy non-adherent cells or as long as 24 hours or more for slower adherent lines. If you’re not sure, your best bet is to run a time-course experiment (testing at 4, 8, 12, and 24 hours) to find the sweet spot for your specific cells.
It’s amazing how far this technique has come. The evolution from the original 1962 Boyden chamber to today’s high-throughput plates has made these assays dramatically more accessible. This has fueled a 500% surge in their use globally since 1990, right alongside a cell culture market projected to hit $25 billion by 2026. What started as a tool for leukocytes was adapted by the 1980s for cancer and stem cell work, with 8 µm pores becoming the de facto standard for 95% of studies aiming to mimic tissue barriers. You can learn more about the assay’s history and its impact on modern cell migration analysis on wisdomlib.org.
Once incubation is complete, you just have a few final steps to visualize your results.
- First, carefully remove the non-migrated cells from the top side of the membrane. A cotton swab works perfectly for this; just be gentle.
- Next, fix the cells that successfully migrated to the bottom of the membrane. A fixative like 4% paraformaldehyde or ice-cold methanol will do the trick.
- Finally, stain the fixed cells. Crystal violet is the classic choice—it’s simple, cheap, and gives you fantastic contrast for brightfield microscopy.
After a final wash and letting them air-dry, your inserts are ready for imaging and quantification. This is the final step, where all that careful benchwork gets turned into meaningful data.
Moving Beyond Migration to Invasion Assays
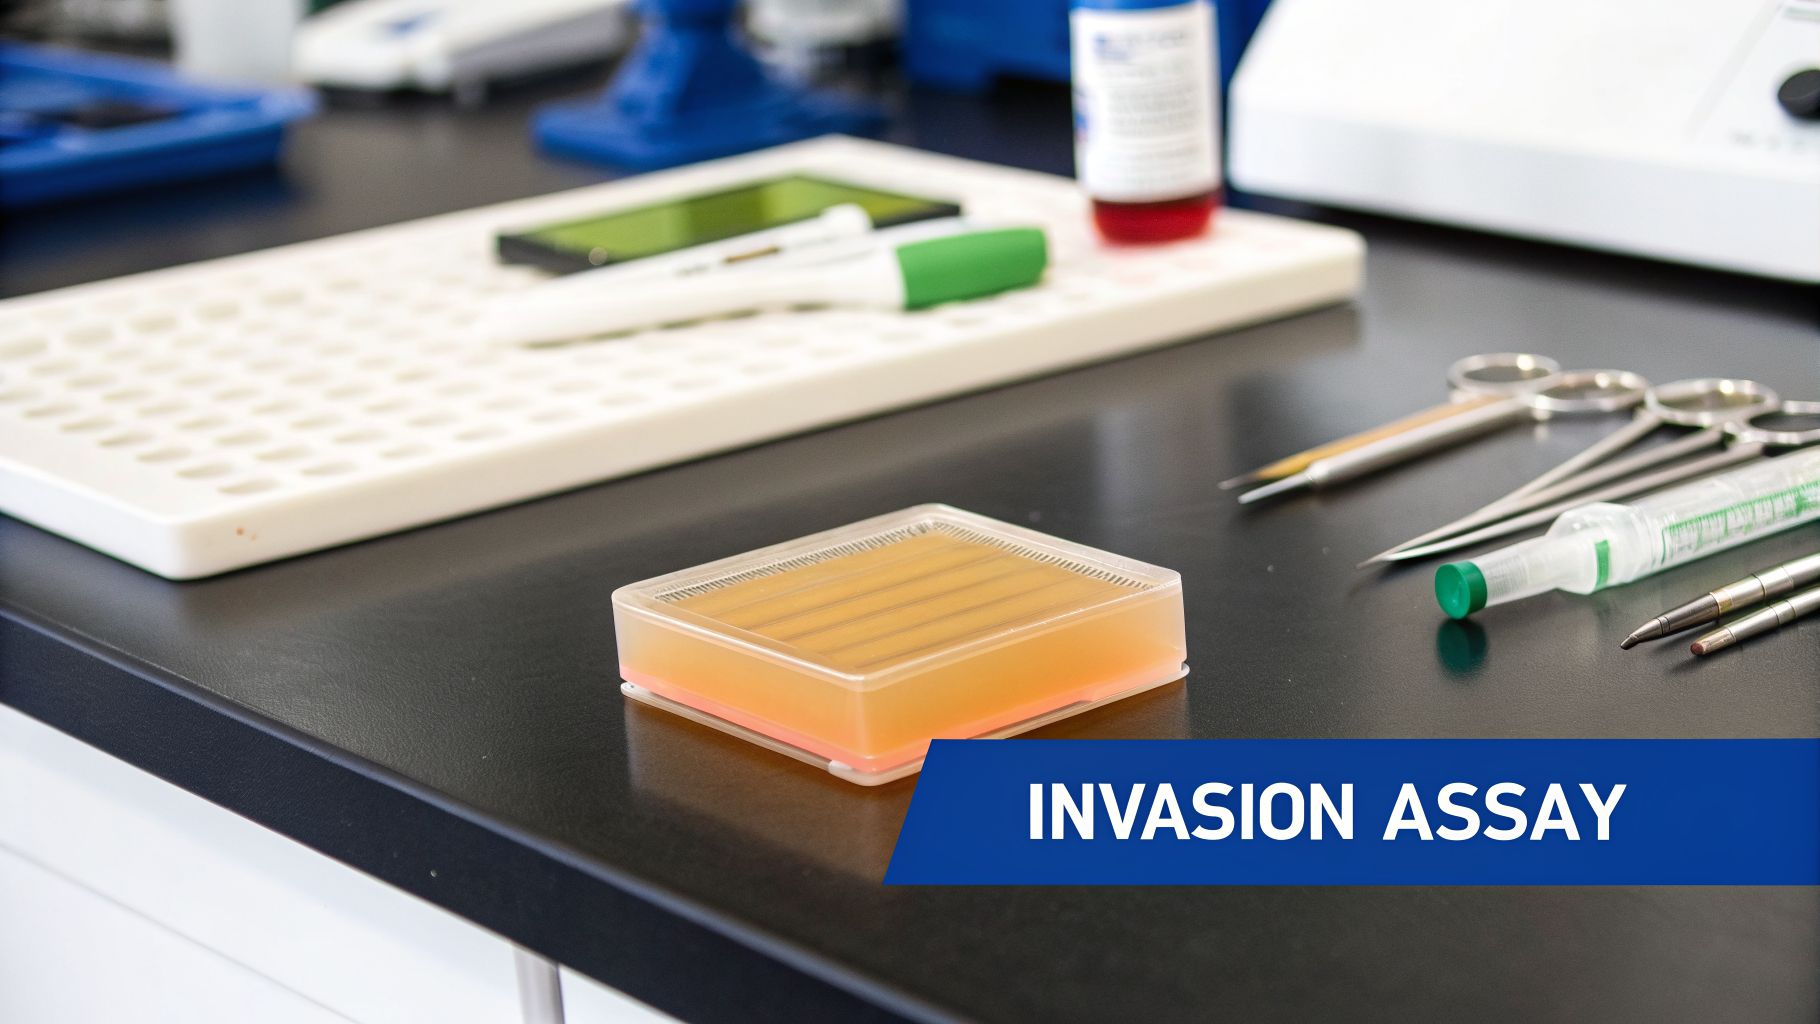
For a lot of research, especially in oncology, knowing a cell can move isn’t the whole story. The real question is: can it push its way through a physical barrier? This is where the standard transwell migration assay gets a powerful upgrade, evolving into the invasion assay.
By adding a single, simple layer, you create a far more biologically relevant model of how cells actually behave in tissue.
The game-changing addition is a layer of extracellular matrix (ECM) coated on top of the transwell membrane. This simulates the basement membrane—that dense network of proteins that cancer cells must breach to metastasize or that immune cells must navigate to reach a site of inflammation. Now, for a cell to get to the chemoattractant below, it can’t just crawl through a pore. It has to actively secrete enzymes to degrade the matrix, remodel it, and then physically pull itself through the path it just carved.
This setup lets you separate the truly invasive cells from those that are merely motile. You get a much more accurate picture of what’s happening in pathogenic processes.
Prepping Your ECM Barrier
The go-to choice for this barrier is almost always Matrigel, a solubilized basement membrane prep extracted from mouse sarcoma cells. It’s packed with key ECM proteins like laminin and collagen IV, giving you an excellent substrate for studying invasion.
Coating your inserts is a critical step, and your technique here really matters. You have to work fast and keep everything on ice. Matrigel starts to polymerize and solidify at any temperature above 10°C, so cold is your best friend.
- Thaw Matrigel: Let the vial thaw overnight on ice inside a 4°C refrigerator. Don’t rush this.
- Dilute the ECM: Use ice-cold, serum-free basal medium to dilute the Matrigel. Your final concentration determines the barrier’s thickness and density, so always check the manufacturer’s protocol for their recommendation.
- Coat the Inserts: Gently pipette a small volume—typically 30-50 µL—of the diluted Matrigel solution right onto the center of the transwell insert membrane. Make sure the liquid spreads evenly across the entire surface. Be careful not to introduce any bubbles.
Once coated, you need to let the matrix solidify. Just move the plates into a 37°C incubator for 30–60 minutes. This allows the proteins to polymerize into a stable gel. After that, your inserts are ready for cell seeding, and you can proceed just like you would with a standard migration assay.
Key Differences from a Standard Migration Assay
While the basic equipment is the same, an invasion assay isn’t just a migration assay with one extra step. The ECM barrier changes the entire dynamic, and you have to account for it in your experimental design.
The biggest change is the incubation time. A standard migration assay might be done in 4–8 hours. An invasion assay often needs 18–48 hours to get quantifiable results, because the cells have a lot of extra work to do before they can even start migrating.
That longer timeframe is non-negotiable. It gives your cells enough time to secrete matrix metalloproteinases (MMPs), chew through the barrier, and finally move to the other side. As a result, you might also need to increase your initial cell seeding density. A higher number of cells can help ensure enough make it through the gauntlet for you to get reliable, quantifiable data.
Invasion assays are a crucial extension of the transwell system, allowing researchers to model a process central to cancer metastasis. Membranes are coated with 30-50 μL of Matrigel to create a simulated ECM barrier, which helps distinguish aggressive cells capable of degrading it—a key feature of metastasis, which is implicated in 90% of solid tumor deaths worldwide. This method became a standard in about 70% of invasion studies after gaining commercial traction in the 1980s. A typical protocol involves coating 8 μm pore inserts, solidifying them at 37°C, and seeding around 1 × 10^5 cells, with results often quantifiable after 4-24 hours. Discover more details on how to perform this essential technique on rwu.pressbooks.pub.
Analyzing Your Data and Troubleshooting Common Headaches
Once your inserts are fixed and stained, the real work begins. It’s one thing to see migrated cells under a scope; it’s another thing entirely to turn those images into robust, quantifiable data. This is also the point where you’ll find out if something went sideways, making troubleshooting a crucial skill for anyone running a migration assay transwell.
The goal here is simple: count the cells that successfully made it to the bottom side of the membrane. You have a couple of solid options for this, each with its own pros and cons.
How to Quantify Cell Migration
The classic, go-to method is manual counting with a standard light microscope. After staining your cells with a dye like crystal violet, you can just pop the insert onto a microscope slide and start counting. To make sure you’re not cherry-picking the best-looking spots, it’s absolutely essential to count multiple, randomly selected fields of view for each insert. A good rule of thumb is to aim for at least five different fields to get a solid, representative average.
A more modern, high-throughput approach is to use fluorescence-based quantification. This means pre-labeling your cells with a fluorescent dye—Calcein-AM is a popular choice—before you even seed them. Once the assay is complete, you can read the entire plate on a fluorescence plate reader. The machine measures the total fluorescence intensity from all the migrated cells in each well, giving you a number much faster and often with less variability than counting by hand.
No matter which method you pick, the final output needs to be a hard number, like “Average Migrated Cells per Field” or “Relative Fluorescence Units (RFU)”. This is the data you’ll plug into your statistical analysis.
A Practical Troubleshooting Guide
Even the most carefully planned experiment can hit a snag. When your results look off, don’t panic. Most problems with a transwell assay can be traced back to a handful of common culprits.
When you’re staring at confusing or disappointing results, it’s time to play detective. The table below is a quick-reference guide to help you diagnose and fix the most common issues that plague migration and invasion assays.
Common Transwell Assay Problems and Solutions
| Observed Problem | Potential Cause | Recommended Solution |
|---|---|---|
| No Migration (or Very Low Migration) | Pore Size Too Small: Your cells might be physically blocked. A 3 µm pore won’t work for large fibroblasts. | Double-check the cell type’s size and choose an appropriate pore size. |
| Inactive Chemoattractant: Serum was heat-inactivated too long, or a growth factor degraded. | Test your chemoattractant. Use fresh, properly stored reagents. | |
| Incubation Time Too Short: Slow-moving cells or invasion assays often need 24 hours or more. | Extend the incubation time. Run a time-course experiment to find the optimal window. | |
| Poor Cell Health: Over-trypsinized or unhealthy cells (<90% viability) won’t migrate. | Always perform a viability check (e.g., Trypan Blue) before seeding. Handle cells gently. | |
| Excessive Migration in Control Wells | Contaminated Upper Chamber Media: The cardinal sin. Serum accidentally splashed into your serum-free media. | Be meticulous with your pipetting. Keep serum-containing and serum-free media separate. |
| Pore Size Too Large: Small, non-adherent cells might just be falling through oversized pores (e.g., 12 µm inserts for lymphocytes). | Switch to a smaller pore size that requires active migration rather than passive falling. | |
| Autocrine Signaling: The cells are secreting their own chemoattractants, stimulating themselves to move. | Try reducing the initial cell seeding density to mitigate this effect. | |
| High Variability Between Replicates | Uneven Cell Seeding: Pipetting cells off-center or tapping the plate causes clumping. | Pipette the cell suspension slowly into the center of the insert. Avoid jarring the plate. |
| Trapped Air Bubbles: A bubble trapped under the insert blocks the chemoattractant gradient entirely. | Place inserts into the lower well at an angle to allow air to escape. | |
| Inconsistent Scratching: Uneven pressure with the cotton swab removes migrated cells from the bottom. | Be gentle and consistent when swabbing the top of the membrane. Practice makes perfect. |
By systematically working through these potential issues, you can diagnose the problem, refine your protocol, and get back on track to producing clean, reliable data.
A critical control to run is placing serum-free media in both the upper and lower chambers. The migration you see in this well is your true baseline—any migration above this is a result of your chemoattractant.
Troubleshooting Your Transwell Assay: Your Top Questions Answered
Even when you follow a protocol to the letter, transwell assays have a knack for throwing up tricky questions. Getting a straight, practical answer is the difference between trusting your data and starting over. Let’s tackle some of the most common issues that come up in the lab.
How Can I Be Sure It’s Actually Chemotaxis?
This is the big one. You need to prove your cells are moving with purpose (chemotaxis) and not just wandering around randomly (chemokinesis). The single most important control is your “zero-gradient” well.
To set this up, you add serum-free medium to both the upper and lower chambers. With no chemoattractant gradient to follow, any cells that migrate through the membrane are doing it by chance. The number of cells in this control well becomes your baseline for random migration. Only a cell count significantly above this baseline can be confidently called chemotaxis.
What’s the Right Incubation Time?
There’s no magic number here; it all comes down to your cells. A speedy cell line like HT1080 fibrosarcoma can give you great results in just 4-6 hours. On the other hand, a slower line like MCF-7 breast cancer cells might need 24 hours or even longer to show meaningful migration.
The only way to know for sure is to run a time-course experiment when you’re working with a new cell type. Set up a few identical wells and stop the assay at different points—say, 4, 8, 12, and 24 hours. This will show you the “sweet spot” where you get a strong signal before the membrane becomes overcrowded.
Can I Just Wash and Reuse My Transwell Inserts?
The answer is a hard no. Transwell inserts are strictly single-use, and trying to reuse them is a recipe for disaster.
During an experiment, the pores get clogged with cell debris and proteins. Even if you could clean them perfectly—which you can’t—the detergents, fixing agents, and stains you use will damage the delicate membrane, changing the pore size and wrecking its integrity. Reusing inserts introduces massive, unquantifiable variability. It’s a shortcut that will cost you far more in failed experiments and unreliable data than you’d ever save on plastics.
What’s Different About Using Primary Cells?
Primary cells are far more sensitive than your hardy, immortalized cell lines. They need a much gentler touch, especially in a stressful assay like a transwell migration.
- Handle with care: They’re incredibly susceptible to damage from trypsin. Use the lowest possible concentration for the shortest amount of time.
- Viability is non-negotiable: Always run a quick viability check before you seed. If it’s not at least 90-95%, stop. Figure out what’s stressing the cells before you proceed.
- Don’t shock the system: Stick with the specific media formulation the primary cells were isolated and grown in. A sudden change in their environment is enough to halt migration in its tracks.
Because primary cells don’t proliferate as aggressively, you’ll likely need to tweak your seeding density or incubation times. Always run a small pilot experiment first to dial in the right conditions for your specific primary cell type.
Achieving reliable and reproducible results starts with high-quality reagents. From our extensive library of chemically defined media like PurMa Biologics RPMI 1640 to our meticulously tested Fetal Bovine Serum, we provide the foundational components you need to build a better assay.