
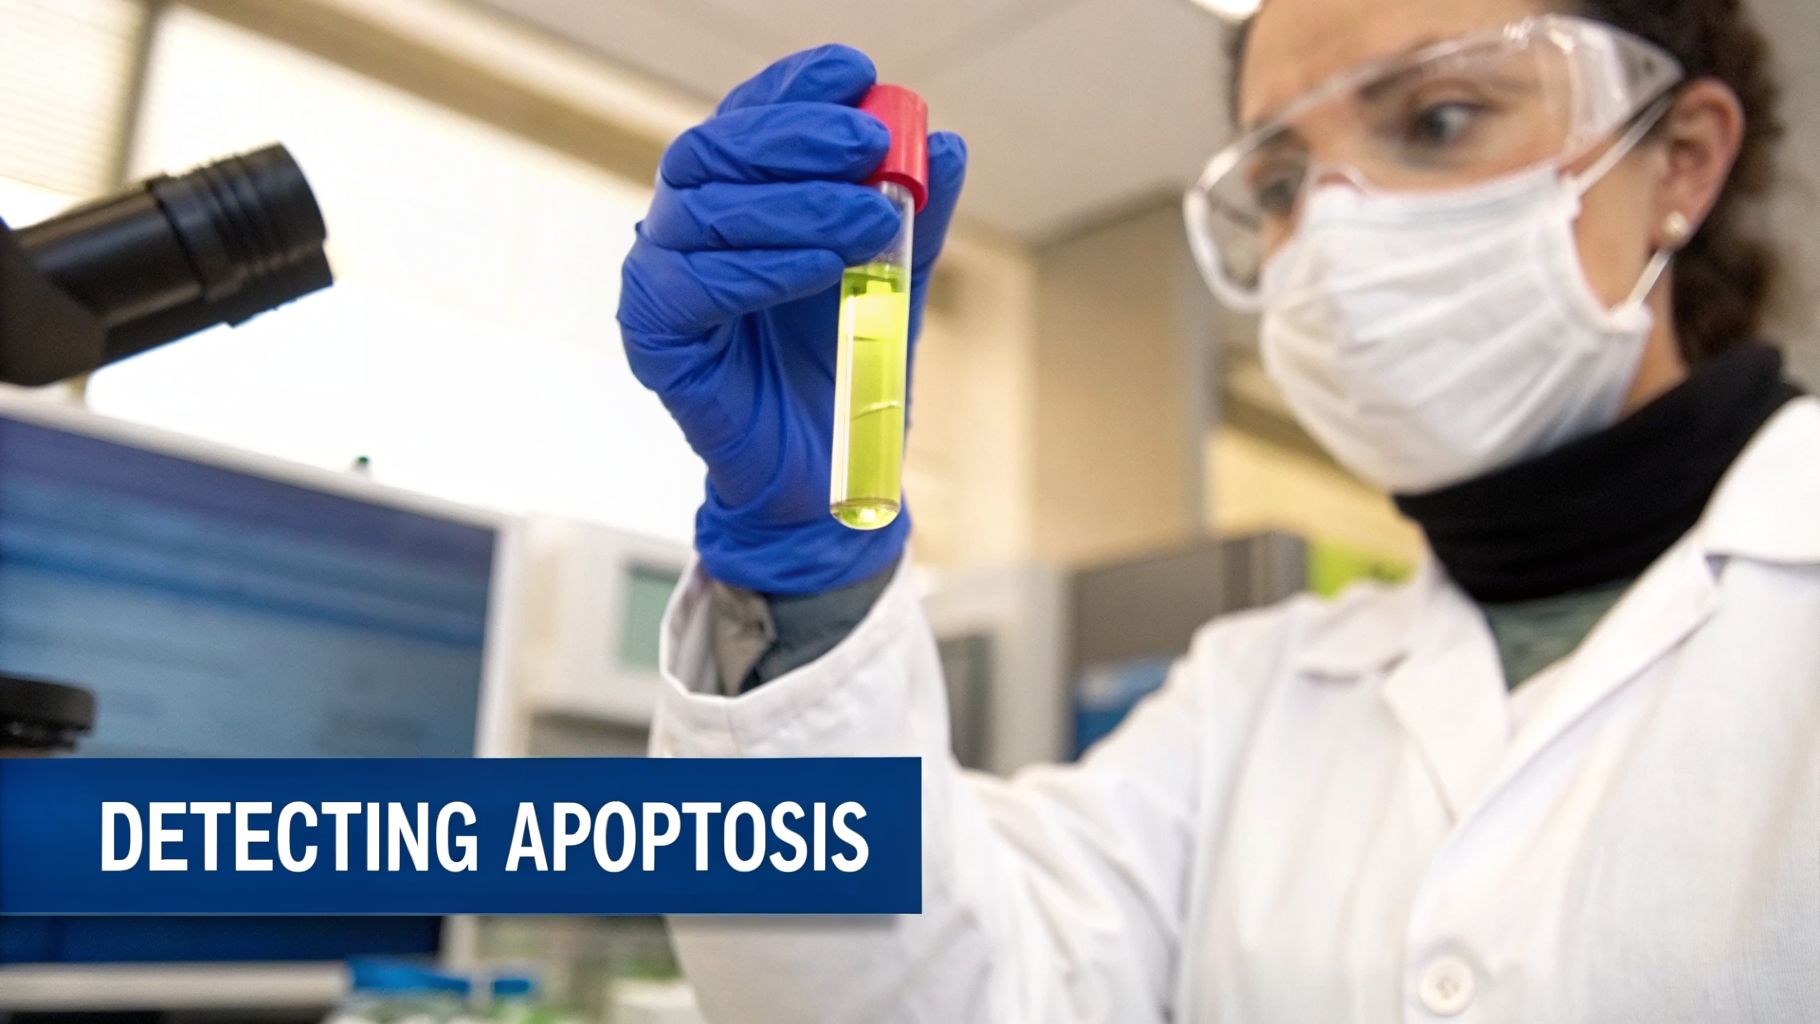
When you need to know if a cell is just starting down the path of programmed cell death, Annexin V staining is your go-to method. It’s a lab staple for detecting the very first signs of apoptosis, long before the cell completely falls apart.
The technique hinges on the Annexin V protein, which has a special talent for finding and binding to a lipid called phosphatidylserine (PS). When a cell gets the signal to die, it flips this PS from the inside of its membrane to the outside—a clear "eat me" signal that kicks off apoptosis. This allows us to separate healthy, happy cells from those just beginning to die.
The Gold Standard for Apoptosis Detection
Getting an accurate read on cell health is everything in biological research, whether you're studying disease pathways in an academic lab or testing a new drug in biopharma. Among all the tools available, Annexin V staining has become the benchmark for spotting early apoptosis simply because it detects one of the earliest known signals of the process.
The biology is both elegant and straightforward. In healthy cells, phosphatidylserine (PS) is kept locked away on the inner side of the plasma membrane. But once a cell gets the signal to self-destruct, this asymmetry is lost, and PS flips to the outer surface.
Why Annexin V Is a Superior Early Marker
Annexin V is a protein with a strong, calcium-dependent attraction to PS. By linking Annexin V to a fluorescent tag like FITC or APC, we can literally light up and count the cells that have started their apoptotic journey. This happens well before later signs of cell death, like DNA fragmentation or total membrane collapse, become visible.
This timing is what makes the assay so powerful. While other methods like the TUNEL assay are useful, they only pick up on DNA fragmentation, which happens much later in a cell’s decline. By that point, the cell is often irreversibly committed to death.
In contrast, Annexin V staining captures cells at the decision point, giving you more sensitive and timely data.
The methodology behind Annexin V staining is a classic example of the specialized techniques used in cell health analysis, often forming a core part of broader cell-based assay services that help drive drug discovery forward.
A groundbreaking 1997 study cemented the technique’s importance by showing that PS exposure happens much earlier than membrane leakage. Using Annexin V staining, researchers could identify 20-30% of cells entering early apoptosis within just 2-4 hours of a stimulus, while less than 10% were positive for propidium iodide (PI), a dye that only enters cells with compromised membranes.
This ability to clearly separate live, early apoptotic, and late apoptotic/necrotic cells is invaluable. For bioproduction teams using high-quality reagents, this level of detail ensures that culture health is dialed in for maximum yield and consistency. Whether the data is for a publication or a regulatory filing, reliable apoptosis data is simply non-negotiable.
A great Annexin V staining run starts long before you ever add a drop of dye. I’ve seen countless experiments fail not because of a flaw in the final staining step, but because of sloppy prep work with reagents and samples. Getting this foundation right is what separates clean, reproducible data from a day of troubleshooting headaches.
The heart of any Annexin V kit is the dye itself, a viability counterstain, and the all-important binding buffer. It seems simple, but the details here are what make or break the assay. Your choice of reagents, especially high-purity, endotoxin-controlled options like those from PurMa Biologics, is your first line of defense against experimental noise.
The Annexin V Binding Buffer is Not Optional
Let me be clear: the single most critical reagent in this entire protocol is the 1X Annexin V Binding Buffer. This isn't just a generic buffer you can swap out. It’s specifically formulated to create the precise chemical environment that allows Annexin V to find and bind to phosphatidylserine (PS).
The key ingredient? Calcium.
The interaction between Annexin V and PS is absolutely calcium-dependent. If you don't have a sufficient concentration of Ca²⁺ ions, typically 2.5 mM, the binding simply will not happen. You’ll get weak signals, or worse, no signal at all, leaving you blind to apoptosis.
A standard formulation for 1X Annexin V Binding Buffer looks like this:
- 10 mM HEPES/NaOH, pH 7.4: Keeps the pH stable where it needs to be.
- 140 mM NaCl: Maintains the correct osmotic balance so your cells don't burst.
- 2.5 mM CaCl₂: The essential cofactor. Without this, the experiment fails.
Do not try to use a standard lab buffer like PBS. It lacks the required calcium, and your experiment will be a complete waste of time and cells.
Treat Your Cells Like They're Fragile—Because They Are
How you handle your cells is just as critical as the reagents you use. The entire goal is to harvest and wash your cells without accidentally poking holes in their membranes, which creates a flood of false-positive dead cells. A stressed cell looks like an apoptotic cell to this assay.
For Suspension Cells
This is the easy part. For lines like Jurkat or K-562, the process is straightforward.
- Gently collect your cells from their flask.
- Spin them down at a low speed—think 300-400 x g for 5-10 minutes.
- Carefully pull off the supernatant without touching that precious pellet.
- Resuspend the cells in cold, calcium-free PBS for a wash, then spin them down again. This wash is non-negotiable; it gets rid of any serum proteins that will interfere with your staining.
For Adherent Cells
Here’s where people get into trouble. Adherent cells like HeLa or MCF-7 need to be handled with extreme care.
- Put Down the Scraper: Never, ever use a cell scraper. You might as well just run your cells through a blender. The mechanical force will obliterate membranes and give you a sky-high dead cell population.
- Go Gentle: Use a non-enzymatic cell dissociation buffer. If you must use an enzyme, go with something mild like Accutase or a very low concentration of trypsin-EDTA.
- Time is Everything: If you're using trypsin, be quick. Incubate just long enough for the cells to lift, then immediately hit them with serum-containing media to shut down the enzyme before it does more damage.
- Wash Thoroughly: Once they're collected, wash them just like suspension cells to remove all traces of dissociation agents and cellular debris.
Pro Tip: After you've harvested adherent cells, let them chill out. Seriously. Give them about 30 minutes in culture media at 37°C before you start staining. This little recovery period lets the cells repair minor membrane nicks they got during detachment, and it will dramatically clean up your background signal.
Finally, get your cell density right. You want to resuspend your final, washed cells at a concentration of about 1 x 10⁶ cells/mL in the 1X Annexin V Binding Buffer right before you stain. This density is perfect for both flow cytometry and fluorescence microscopy—it gives you plenty of events for solid data without being so crowded that cells start clumping together.
Your Step-by-Step Staining Protocol for Flow and Microscopy
With your reagents on ice and cells gently harvested, you're at the most critical part of the experiment: the staining itself. This is where precision and a light touch make all the difference. Whether you're heading to a flow cytometer or a microscope, the core steps are almost identical.
The key is to work quickly and keep everything cold. Your goal is a perfect snapshot in time, capturing cells just as they begin their apoptotic journey.
This diagram shows the simple workflow we’re about to follow: get your reagents ready, prep your cells, and then bring them together.
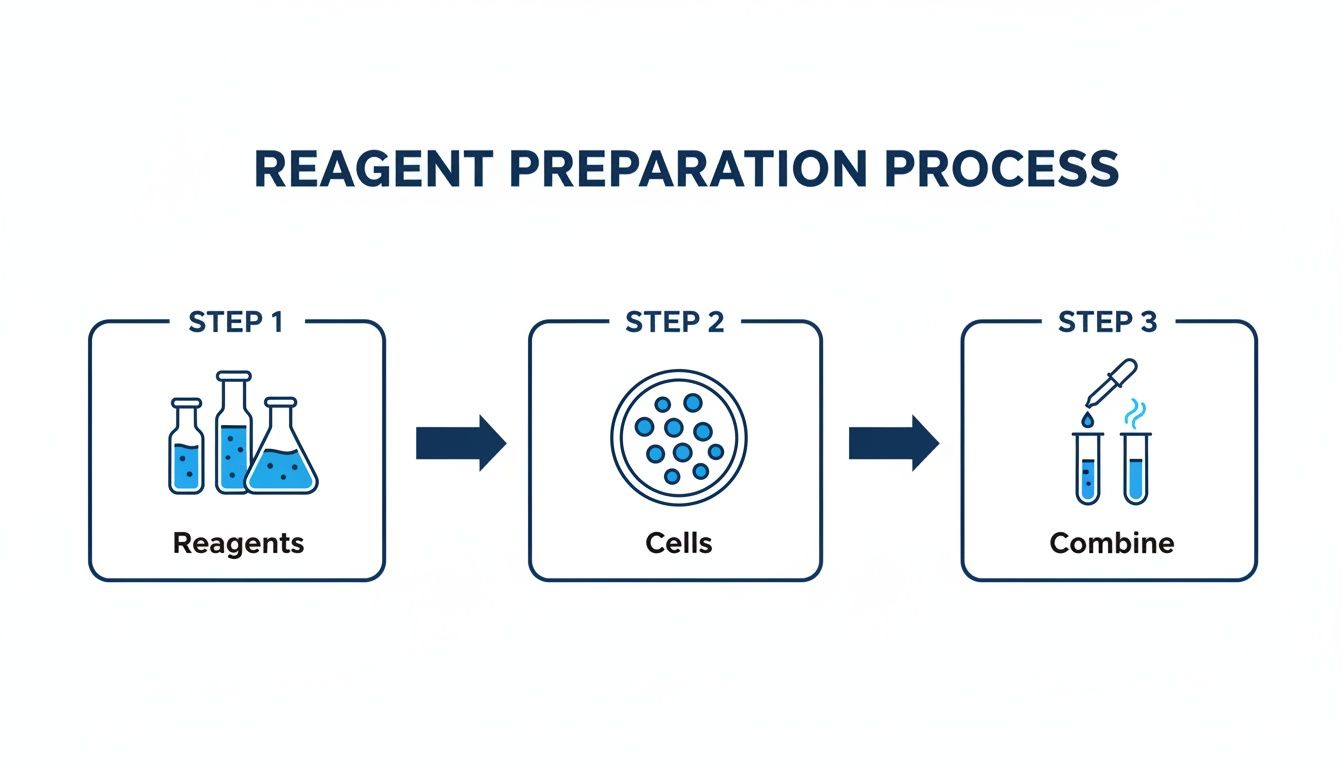
Having everything lined up beforehand is non-negotiable. Once you add your cells to the mix, the clock is ticking.
The Staining and Incubation Process
Grab your washed cell pellet. The ideal cell density for this assay is right around 1 x 10⁶ cells/mL. This concentration is dense enough for a strong signal but not so crowded that it causes clumping or artifacts.
Resuspend the cells. Start by gently resuspending your cell pellet in 100 µL of cold 1X Annexin V Binding Buffer. Don't be tempted to use plain PBS—this buffer’s calcium is absolutely essential for Annexin V to bind to phosphatidylserine. No calcium, no binding.
Add your dyes. To the cell suspension, add 5 µL of your fluorochrome-conjugated Annexin V (like Annexin V-FITC). Immediately follow it with 5 µL of your viability dye, such as Propidium Iodide (PI) or 7-AAD. Mix by gently tapping the tube. Never vortex—you’ll shred the cell membranes and end up with a tube full of necrotic artifacts.
Incubate in the dark. Let the tubes sit for 15 minutes at room temperature, shielded from light. Fluorochromes are notoriously light-sensitive, and photobleaching will kill your signal before you even get to the instrument.
That 15-minute window is the sweet spot—long enough for the dyes to bind effectively but short enough to prevent cells from progressing too far into late apoptosis or necrosis while you wait.
A Tip from the Trenches: Time is your enemy here. The binding of Annexin V is a reversible process. For the most accurate data, you need to get your samples on the instrument immediately after incubation. Don't let them sit on the bench for an hour while you grab coffee.
Getting Ready for Analysis
After the 15-minute incubation, your next move depends on the instrument you’re using. The main thing is to keep the cells in that calcium-rich binding buffer.
For Flow Cytometry
Once the incubation is over, add 400 µL of 1X Annexin V Binding Buffer to each tube. This brings your total volume to 500 µL, a perfect amount for most flow cytometers to acquire a good number of events without running dry.
Keep the tubes on ice and in the dark until you're ready to run. The cold temperature slows down cellular metabolism and helps "freeze" the cells in their current apoptotic state.
For Fluorescence Microscopy
Simply take 20-50 µL of your stained cell suspension and carefully place it on a clean microscope slide.
Gently lower a coverslip over the drop, doing your best to avoid trapping air bubbles. Get the slide onto the microscope stage immediately and start imaging. You'll want to capture clear examples of your live, early apoptotic, and late apoptotic/necrotic cells.
Annexin V staining truly changed the game for apoptosis detection, giving us a way to measure cell death stages quickly and accurately. A standard protocol with a 15-minute stain using reagents like Annexin V-FITC can give you a complete picture in under 30 minutes. This is a massive improvement over older methods; for example, this assay can identify 80-90% of early apoptotic events, whereas a TUNEL assay might only hit ~70% sensitivity after 12 hours or more. It’s known for excellent reproducibility, making it a go-to tool for labs using specialized media, like those from PurMa Biologics, to generate consistent, publication-ready data. If you want to dig deeper into the assay's robustness, you can explore a comprehensive analysis on Bitesize Bio.
Interpreting Your Results and Gating Strategies

Getting the data off the cytometer is a milestone, but the real work starts now. An Annexin V experiment generates a cloud of data points that, with the right analysis, tells the story of your cells' life and death. Your job is to turn that cloud of dots into hard numbers you can actually use.
This all comes down to gating—the digital equivalent of drawing a box around your cells of interest to count them. Without a solid, logical gating strategy, all that careful staining can easily lead to the wrong conclusions.
Setting Up Your Flow Cytometry Gates
The heart of Annexin V analysis is a two-dimensional dot plot. You’ll typically put your Annexin V signal (like FITC or APC) on the x-axis and your viability dye (like Propidium Iodide or 7-AAD) on the y-axis. This setup beautifully splits your cell population into four distinct quadrants, each telling a different part of the story.
But where you draw those lines isn't a gut feeling. Placing those gates correctly depends entirely on running the right controls first.
- Unstained Cells: This sample is your ground truth. It shows the baseline autofluorescence of your cells and tells you where "negative" really is. This control sets the bottom-left corner for your gates.
- Annexin V Only: Staining with just Annexin V lets you set the vertical line of your quadrant. You'll see a clear shift along the x-axis for positive cells, without any signal bleed-through from the viability dye.
- Viability Dye Only: Using only PI or 7-AAD is how you set your horizontal gate line. This control is also absolutely critical for dialing in your compensation to correct for any spectral overlap between your dyes.
Once you run your fully stained experimental samples, these pre-defined gates will do the heavy lifting, accurately sorting your cells into the four critical populations.
Remember this: the gates you set using your controls must stay locked in place for every single sample in that experiment. Moving gates between your control and treated samples is a rookie mistake that introduces bias and will ruin your results.
The Four Quadrants of Cell Fate
With your gates set in stone, every dot on that plot now has a clear identity. Here’s how you read the plot, starting from the bottom-left and moving clockwise.
Lower-Left Quadrant (Annexin V- / PI-): The Viable Population
These are your healthy, happy cells. They haven’t flipped phosphatidylserine (PS) to their outer membrane, and their plasma membranes are still intact, so they shut out the viability dye. For any untreated or healthy control, this should be your most crowded quadrant.
Lower-Right Quadrant (Annexin V+ / PI-): The Early Apoptotic Population
This is the money quadrant for an annexin v staining assay. These cells have started the apoptotic cascade, flipping PS to their surface and becoming Annexin V positive. Critically, their membranes are still intact, so they remain PI negative. This quadrant captures the earliest measurable stage of apoptosis.
Upper-Right Quadrant (Annexin V+ / PI+): The Late Apoptotic or Necrotic Population
These cells are in the final stages of death. Their membranes have become leaky, letting the viability dye rush in and stain the nucleus. Since they are apoptotic, they're also still positive for Annexin V. This population represents cells that are either very far along in apoptosis or have undergone secondary necrosis.
Upper-Left Quadrant (Annexin V- / PI+): The Necrotic or Dead Population
This quadrant can be tricky and is often small. These cells are PI-positive, meaning their membranes are shot, but they are negative for Annexin V. This usually points to cells that died through a rapid, necrotic pathway instead of apoptosis, or it could just be cellular junk and debris. If you see a large population here, it might be a sign that your cell handling was too rough.
Interpreting Fluorescence Microscopy Images
If you're using a microscope instead of a cytometer, you won't get quantitative quadrant data, but you'll get powerful visual proof.
- Viable Cells: Will look dark, showing no significant fluorescence.
- Early Apoptotic Cells: Show a bright green outline (or whatever color your conjugate is) as Annexin V binds to the membrane, but their nuclei will stay dark.
- Late Apoptotic/Necrotic Cells: Have it all—the membrane staining from Annexin V and a brightly stained nucleus (e.g., bright red for PI).
Whether you're looking at a dot plot or a microscope slide, paying close attention to these patterns is how you accurately measure the impact of your experiment on cell health and apoptosis.
Troubleshooting Common Annexin V Staining Issues
Even the most carefully planned Annexin V experiment can deliver results that leave you scratching your head. Your dot plots look nothing like the clean quadrants in the textbook, and it's easy to get frustrated. But don't throw out your tubes just yet. Most of these issues are common, they have a clear cause, and more importantly, they are fixable.
A messy plot isn't just noise; it's your cells telling you that something in your prep, staining, or acquisition went wrong. The key is learning how to translate that mess into a diagnosis. Let's walk through the most frequent problems I see in the lab and how to solve them.
High Background or Too Many Dead Cells in Controls
One of the most common alarms is seeing a huge population of Annexin V positive and/or PI positive cells in your untreated control sample. Before you panic and assume your entire cell stock is unhealthy, take a hard look at how you handled them.
More often than not, the culprit is mechanical stress during cell harvesting.
- For Adherent Cells: Were you too aggressive with the cell scraper? Did you leave the trypsin on for a couple of extra minutes? Both will shred cell membranes, creating a flood of false positives. I always recommend switching to a gentle, non-enzymatic dissociation buffer or timing your trypsin incubation down to the second.
- For Suspension Cells: How hard did you spin them down? Centrifugation speeds above 400 x g are brutal on cell membranes, causing pelleting stress and damage. Keep your spins low and slow.
Of course, sometimes the problem is the starting culture itself. If your cells were overgrown, left confluent for days, or were starved of nutrients, they will have a genuinely higher baseline of apoptosis. Always kick off an annexin v staining experiment with healthy, happy cells in their log-growth phase.
Here's a critical mistake I see all the time: using the wrong buffer. If you wash your cells with a buffer that lacks calcium or resuspend them in standard PBS instead of Annexin V Binding Buffer, the binding will be weak and non-specific. You must use a dedicated binding buffer containing the required 2.5 mM CaCl₂. No exceptions.
Weak or No Annexin V Signal
What happens when your treated cells are supposed to be dying, but your plot shows little to no Annexin V signal? This usually points to a problem with the staining reaction, not the cells.
First, check your reagents. Annexin V conjugates and viability dyes have a shelf life. Their fluorescence will absolutely fade over time, especially if they’ve been stored improperly or left on the bench. An expired or poorly stored reagent is the simplest explanation for a weak signal.
Next, go back to your buffer. The binding of Annexin V to phosphatidylserine is strictly calcium-dependent. If you accidentally grabbed a bottle of PBS or another calcium-free buffer for that final staining step, the Annexin V protein has no way to attach to its target. Double-check that you're using a properly made Annexin V Binding Buffer.
Finally, mind the clock. Annexin V binding is reversible. If you let your samples sit around for an hour after staining before running them on the cytometer, the probe will start to dissociate from the cell surface. Your goal should be to analyze your samples immediately after that 15-minute incubation.
Inconsistent Results Between Replicates
When your identical samples show wildy different staining patterns, the problem is almost always your own two hands. Inconsistent technique, especially when you're manually prepping a dozen tubes, is the root cause of poor reproducibility.
Here are a few things to scrutinize in your own process:
- Pipetting Accuracy: Are you really adding the exact same volume of Annexin V and PI to every single tube? Even tiny differences in reagent volume can cause big swings in staining intensity.
- Cell Counts: Is the cell number consistent from tube to tube? A sample with way fewer cells will obviously have a weaker overall signal. Count carefully.
- Incubation Time: Did every tube incubate for precisely the same amount of time? Staggering your staining or having a clear start-stop plan for your timer helps ensure every sample gets the exact same treatment.
To get around this, I always make a master mix. Combine your Annexin V, PI, and binding buffer in one tube, then dispense that complete cocktail into your samples. This one simple change dramatically improves consistency. If you have access to an autosampler, using a 96-well plate removes nearly all of the tube-to-tube variability that comes from manual acquisition.
Even seasoned researchers run into puzzling Annexin V results. When things look off, it's tempting to blame the reagents or the instrument, but a methodical review of your technique often reveals a simple fix. The troubleshooting table below covers some of the most common artifacts we see and how to correct them.
| Problem Observed | Potential Cause | Recommended Solution |
|---|---|---|
| High PI staining in live cells | PI concentration too high; incubation time too long; membrane damage from harsh handling. | Titrate PI concentration down; reduce incubation time to 5-10 minutes; use gentle cell harvesting and centrifugation (<400 x g). |
| "Smearing" or diagonal pattern | Compensation issue (spectral overlap between FITC and PI); apoptotic blebbing causing variable scatter. | Run single-stain compensation controls (Annexin V only, PI only) and apply correct compensation matrix. Gate tightly on the main cell population to exclude debris/blebs. |
| All cells are Annexin V+/PI+ | Experiment left too long (apoptosis progressed to necrosis); extreme cytotoxicity of treatment; incorrect gating. | Run a time-course experiment to find the optimal endpoint; check negative controls for health; ensure gate is set on untreated, unstained cells first. |
| Negative control looks apoptotic | Over-trypsinization; high centrifugation speed; unhealthy starting culture; incorrect buffer. | Use a non-enzymatic dissociation buffer; keep spins gentle; start with log-phase cells; ensure 2.5 mM CaCl₂ is in the binding buffer. |
| Annexin V signal is weak | Reagent expired or stored improperly; wrong buffer used (no calcium); probe dissociated over time. | Check reagent expiration dates; always use Annexin V Binding Buffer; analyze samples immediately after the 15-minute incubation. |
| High variability between replicates | Inconsistent pipetting of reagents or cells; different incubation times. | Prepare a master mix of staining reagents and dispense; count cells accurately for each sample; use a timer and stagger samples to ensure identical incubation. |
By treating your dot plots as diagnostic tools, you can quickly pinpoint the source of error. The goal is to make these checks a routine part of your workflow, turning frustrating artifacts into clean, reproducible data.
Your Annexin V Staining Questions, Answered
Even with a perfect protocol in hand, questions always come up once you’re at the bench. The annexin V staining assay is full of little nuances where a small mistake can derail your entire experiment. This is where we tackle the most common questions we hear from scientists, giving you quick, direct answers to get you through the tricky spots.
Think of this as the rapid-fire troubleshooting guide you wish you had during your first run-through. These are the real-world, "what-if" scenarios that pop up when you're in the middle of an experiment.
Can I Fix My Cells After Annexin V Staining?
It’s a tempting shortcut, especially when you need to store samples or can't get to the cytometer right away. But as a hard and fast rule, you should not fix cells after Annexin V staining.
The binding of Annexin V to phosphatidylserine (PS) is a calcium-dependent, reversible process. Most fixatives, especially alcohols like methanol or ethanol, blast holes in the cell membrane. This permeabilization gives Annexin V a free pass to the inner leaflet of the membrane in all your cells—healthy or not. The result is massive false positives that make your data completely worthless.
If you are absolutely backed into a corner and must fix your samples, you can try a very gentle paraformaldehyde (PFA) fixation after staining. Be warned: this is an advanced, last-resort maneuver. It can still mess with fluorescence and will almost certainly require you to re-optimize your entire protocol. For the cleanest, most trustworthy data, always analyze fresh, unfixed cells immediately.
What Is the Difference Between Using PI and 7-AAD?
Both Propidium Iodide (PI) and 7-Aminoactinomycin D (7-AAD) are fantastic viability dyes. They operate on the same principle: healthy cells with intact membranes keep them out, while late-stage apoptotic and necrotic cells with compromised membranes let them in to light up the nucleus.
The real difference comes down to their spectral properties and how they fit into your panel.
Propidium Iodide (PI) is incredibly bright and simple to use. Its major drawback is a very broad emission spectrum that bleeds heavily into other channels, especially PE (phycoerythrin). This is perfectly fine if you’re running a basic two-color experiment, like Annexin V-FITC and PI.
7-Aminoactinomycin D (7-AAD) emits light much further into the far-red spectrum. This makes it the clear winner for any multi-color flow cytometry experiment. It generates far less spectral overlap, saving you a massive headache with compensation when you're also using fluorochromes like FITC and PE.
Our recommendation: Stick with PI for simple two-color analyses on a standard cytometer. Switch to 7-AAD the moment you start building a more complex, multi-parameter panel. It will give you cleaner data and make your analysis infinitely easier.
Why Are My Control Cells Showing High Apoptosis?
This is one of the most frustrating problems in flow cytometry. You run your untreated control group expecting to see a field of happy, healthy cells, but instead, the plot shows a high percentage of apoptosis. Before you start questioning your entire cell culture, the first place to look is your own hands.
The most common culprit is overly aggressive sample preparation. Mashing your cells with a vigorous vortex, spinning them down at excessive speeds, or leaving them in trypsin too long causes mechanical damage. This physical stress rips up cell membranes, making perfectly healthy cells look apoptotic to the assay.
Another cause could be the health of the culture you started with. If your cells are overgrown, starved for nutrients, or have a low-grade infection (like mycoplasma), they will have a higher baseline of apoptosis before you even begin. Always start with healthy, log-phase cultures and treat them gently. And, of course, using high-quality reagents is critical to ensure you aren't introducing artifacts from your staining components themselves.
For every step of your cell culture workflow, from media to staining reagents, consistency and quality are key. PurMa Biologics provides high-purity, endotoxin-controlled reagents designed to minimize experimental variability and ensure your Annexin V staining results are clean, reliable, and reproducible. Explore our full range of cell culture solutions at https://www.purmabiologics.com.