
Walk into any life science lab, and you'll find racks of them. The humble 50 ml centrifuge tube is far more than just a piece of plastic; it’s the workhorse of modern biology, a small-scale vessel where countless experiments begin and end. Think of it as the silent partner behind every cell pellet, reagent prep, and sample storage step.
The Unsung Hero of Modern Lab Work

It’s easy to take this simple tool for granted. But the reality is that the 50 ml tube is a critical piece of equipment enabling precise, reproducible science. It is far more than just a container; it's a carefully engineered tool that empowers researchers to handle sample volumes perfect for an enormous range of lab tasks.
This versatility is precisely why it’s so indispensable. The 50 ml size strikes the perfect balance—large enough to handle substantial cell cultures yet small enough for easy handling and a perfect fit in standard centrifuge rotors. Its importance is reflected directly in its staggering market dominance.
An Indispensable Lab Staple
The 50 ml format commands an estimated 58.7% revenue share of the global centrifuge tube market. In 2026, that market hit USD 2.01 billion, with projections showing it will climb to USD 2.86 billion by 2032. This isn't just growth; it's a testament to the tube's central role in everything from cell pelleting and reagent mixing to sample storage across all of biotechnology.
This single tool is the common denominator in workflows for isolating DNA, purifying proteins, and harvesting cells. Understanding its features, and more importantly its limitations, is the first step toward mastering your experiments. After all, the most brilliantly designed protocol can fail because of a leaky cap or a cracked tube.
In a busy lab, consistency is everything. The 50 ml centrifuge tube is not just a tool but a vessel of trust, safeguarding priceless samples that could lead to the next discovery. Its reliability underpins the integrity of your results.
More Than Just Plastic
While this guide focuses on the specifics of this plastic tube, it helps to appreciate the broader context of lab equipment. Understanding the properties of different types of chemical laboratory glassware, for example, gives you a solid foundation in material science principles that apply across all lab tools. That knowledge helps you make smarter choices, whether you're selecting a glass beaker or a polypropylene centrifuge tube.
By diving deep into the nuances of the 50 ml tube, you can elevate your technique, boost your experimental consistency, and sidestep common failures. This guide will walk you through everything from its basic anatomy to advanced troubleshooting, helping you turn this everyday item into a powerful asset for your research.
Anatomy of a High-Performance Tube
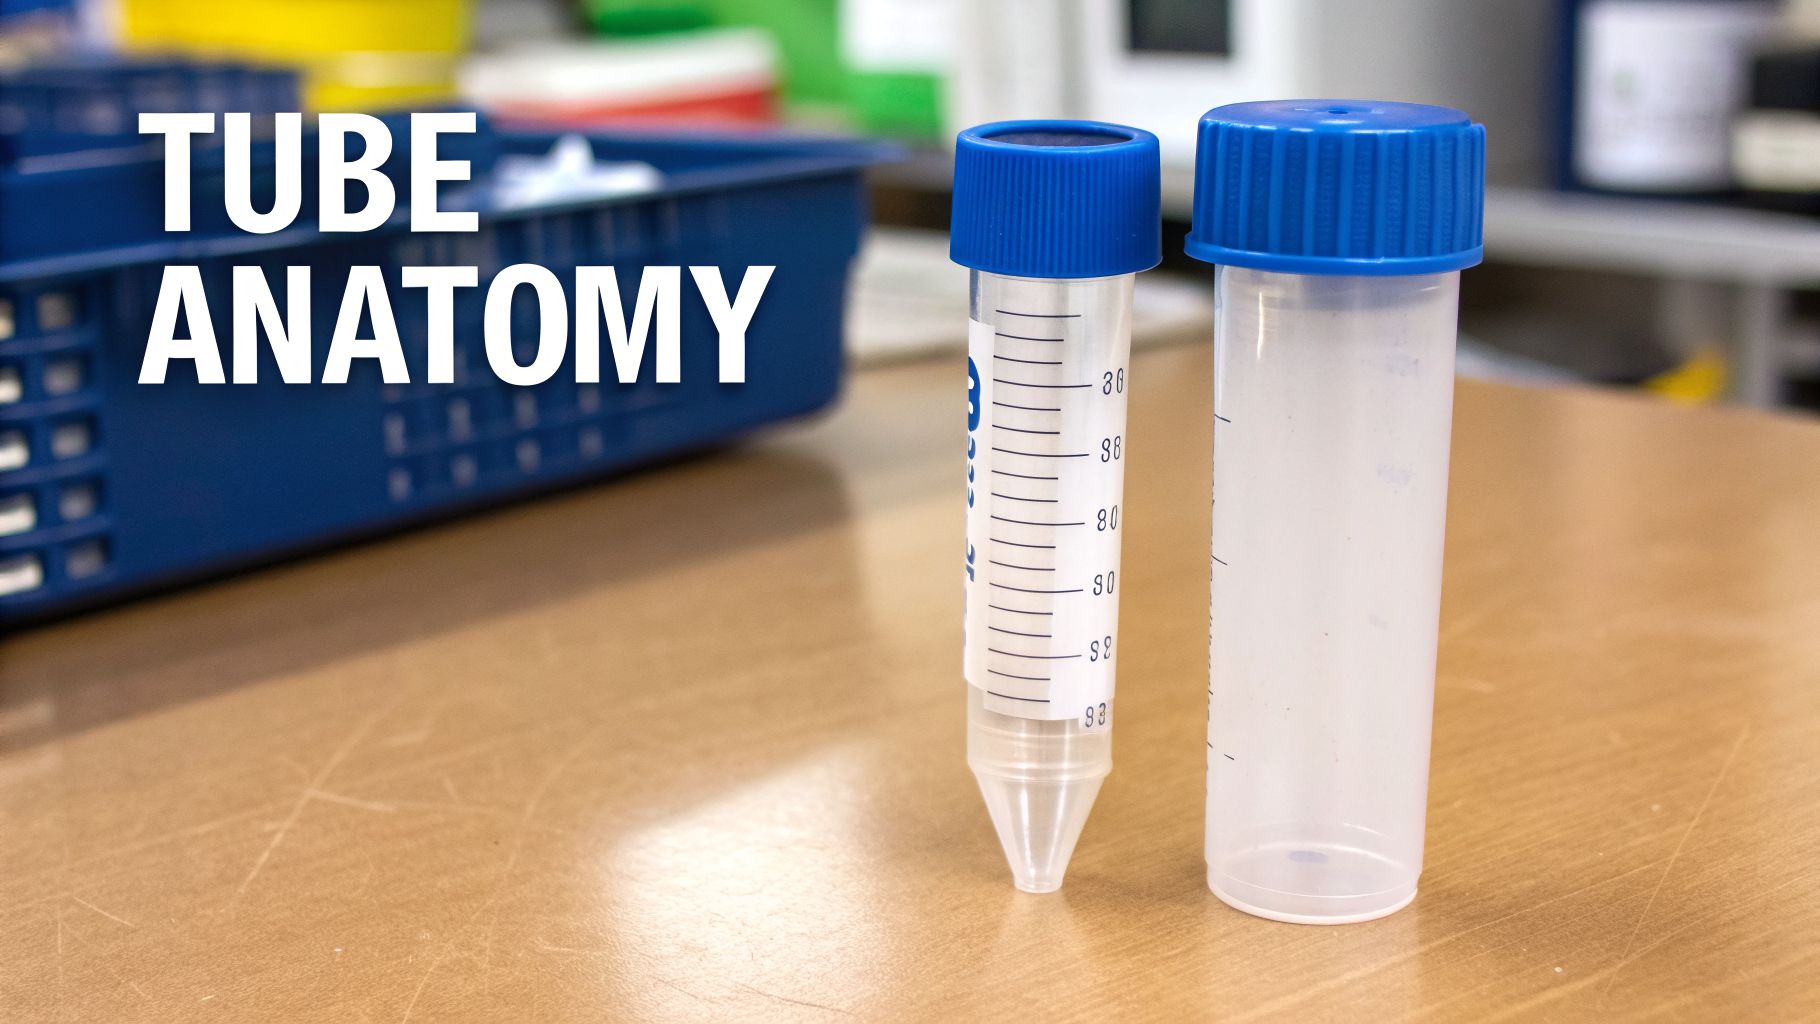
It’s easy to think of a centrifuge tube as a simple plastic container, but in reality, not all tubes are created equal. A high-performance 50 ml centrifuge tube is a piece of precision-engineered equipment, where every curve, material, and seal is designed to protect your valuable samples under extreme force.
Think of it like choosing the right tires for a race car; the specific components are absolutely critical for success under pressure. Let's break down what separates a reliable tube from one that might fail you at the worst possible moment.
Choosing the Right Material
The body of a 50 ml centrifuge tube is your first line of defense. It has to be tough enough to handle high g-forces, chemically resistant to your solvents, and stable across a wide range of temperatures. In most labs, you'll encounter two primary materials, each with a distinct purpose.
Polypropylene (PP): This is the workhorse of the lab. Polypropylene is prized for its incredible chemical resistance against common acids, bases, and organic solvents. It's also exceptionally durable, easily handling extreme freezer storage at -80°C, the intense forces of a centrifuge, and autoclaving cycles at 121°C.
Polyethylene Terephthalate (PET): When you need absolute clarity, PET is your best bet. While it doesn't have the same chemical resilience or temperature range as polypropylene, its glass-like transparency is perfect for applications where you need to visually inspect your sample or pellet without compromise.
The inherent strength and resilience of a centrifuge tube are largely dictated by its material composition. For tubes designed for high-stress environments, understanding PEEK plastic and its properties offers insights into advanced polymer selection for high-performance applications.
Design Features That Matter
Beyond the base polymer, several smart design features distinguish a superior 50 ml centrifuge tube from a generic one. These details may seem minor, but they make a huge difference in your day-to-day workflow.
The conical bottom is the quintessential feature of a centrifuge tube, and for good reason. This shape masterfully funnels particulates during a spin, concentrating them into a tight, easy-to-manage pellet. This makes aspirating the supernatant far cleaner and safer, maximizing your yield and purity without disturbing your precious sample.
For any work that happens on the benchtop, a skirted bottom (or freestanding design) is a massive convenience. This small integrated base allows the tube to stand on its own, freeing you from constantly reaching for a rack.
Securing Your Sample
The cap is arguably the most critical component on a 50 ml centrifuge tube. A weak or poorly designed seal is a recipe for disaster, leading to leaks, dangerous aerosols, or contamination. You’ll generally find two types of caps, each with a specific job.
Plug-Seal Caps
These caps have an extended inner rim that fits deeply and securely into the tube opening. This creates an exceptionally tight, leak-proof barrier.
- Best for: High-g spins, volatile solvents, and any long-term storage where you absolutely cannot afford evaporation.
- How it works: The inner "plug" essentially acts like a cork, giving you an extra layer of security against pressure changes and keeping your sample contained.
Flat-Top Caps
As the name implies, these caps feature a broad, flat outer surface that’s perfect for labeling.
- Best for: Everyday, general-purpose use where quick sample ID is key. They're also much easier to open and close with one hand.
- How it works: While they still provide a reliable seal, their main advantage is the generous, smooth surface that you can easily write on with a lab marker.
Finally, never underestimate the importance of simple, user-friendly features. Bold graduation marks that are easy to read and a large white writing area are non-negotiable in a busy lab. Crisp, solvent-resistant markings ensure you can measure volumes accurately, while a dedicated labeling spot prevents catastrophic sample mix-ups. These are the small details that turn a simple plastic tube into an indispensable scientific tool.
Spin Speeds, G-Forces, and Temperature: The Real-World Limits of Your Tubes
This is where the rubber meets the road—or more accurately, where the g-force meets the polymer. The success of your entire experiment often comes down to one simple question: can your 50 mL centrifuge tube actually handle the stress you’re about to put it through? Pushing a tube past its limits isn't just a risk; it's a surefire way to end up with cracked plastic, a lost sample, and a biohazard mess inside your expensive centrifuge.
Think about it like being on a roller coaster. The speed of the cart is one thing (that's your RPM). But the force that pins you to your seat during a sharp turn? That's the g-force. In the lab, that crushing force is your Relative Centrifugal Force (RCF), and it’s what really matters.
Why RCF Is the Only Metric That Matters
So many protocols still list spin speeds in RPM (Revolutions Per Minute), and frankly, it's one of the biggest sources of bad data and irreproducibility in science. RPM only tells you how fast the rotor is spinning. It tells you nothing about the force being applied to your sample.
The actual force your tube experiences depends entirely on the radius of the rotor—the distance from the center spindle to your tube. A small benchtop rotor spinning at 10,000 RPM generates far less force than a massive floor model rotor spinning at the exact same speed. This is why any protocol that just says "spin at 10,000 RPM" is incomplete and dangerously unreliable.
RCF, measured in units of gravity (x g), is the universal standard. It’s the great equalizer. RCF accounts for both the spin speed and the rotor's radius, giving you a consistent, reproducible measurement of force. An RCF of 10,000 x g is the same intense force whether you're in a lab in Boston or a lab in Berlin, using a brand new centrifuge or a ten-year-old workhorse.
Always, always, always follow protocols based on RCF, not RPM. If a protocol only gives you RPM, you have to do the work to convert it to RCF using your specific centrifuge and rotor. Your results—and their repeatability—depend on it.
Thankfully, calculating RCF is simple, and most modern centrifuges do the math for you. Just enter your rotor’s radius, and the machine will show you both the RPM and the resulting RCF. When in doubt, the RCF value is your ground truth.
Respecting the Mechanical Limits
Every single 50 mL centrifuge tube has a maximum RCF rating printed on the box or datasheet. Ignoring this number is like ignoring the redline on a car’s tachometer. Exceeding it overstresses the plastic, leading to spiderweb cracks, total fractures, and catastrophic failure mid-run.
While they may seem simple, high-quality polypropylene tubes are engineering marvels. Some are designed to withstand incredible forces, with ratings pushing up to 20,000 x g or even higher.
The 50 mL centrifuge tube dominates the 25-50 mL market for a reason. Modern polypropylene tubes that can tolerate up to 25,000 RCF often cut costs by 25% compared to glass, all while providing the clarity you need for quick viability checks after the spin. For CDMOs scaling up protein expression services, these tubes are a game-changer, helping to slash turnaround times and ensure 99% batch consistency. You can find more detailed market analysis on centrifuge tubes from sources like Future Market Insights.
Here’s a quick-reference table that summarizes the typical operating limits you’ll encounter with standard polypropylene 50 mL centrifuge tubes.
Typical Operating Limits for 50 mL Centrifuge Tubes
| Parameter | Typical Value or Range | Key Consideration |
|---|---|---|
| Max RCF | 9,000 to 20,000 x g | Always verify the manufacturer's rating. Using the correct rotor and cushion is critical. |
| Temperature Range | -80°C to 121°C | Polypropylene can become brittle at very low temps; ensure proper handling. |
| Autoclave Sterilization | 121°C at 15 psi for 15-20 min | Repeated autoclaving degrades plastic. For critical work, use pre-sterilized tubes. |
These values are a solid starting point, but remember to always confirm the specific ratings for the tubes you have in your lab. A few seconds of checking can prevent a major failure later.
Navigating Temperature Extremes
A good tube has to do more than just survive the centrifuge. Its ability to handle extreme cold and heat is just as vital for protecting your sample across an entire workflow, from pelleting to long-term storage.
You need to be confident your tube can handle:
- Refrigerated Centrifugation (4°C): This is non-negotiable when you’re working with sensitive proteins, enzymes, or living cells. A well-made polypropylene tube will stay stable and won't turn brittle at these cold temperatures, even while being subjected to thousands of g's.
- Frozen Storage (-80°C): For banking cell pellets, nucleic acids, or protein stocks, your tubes must withstand deep-freeze conditions without cracking. The number one rule here is to leave enough headspace—at least 10-20% of the volume—to allow for the liquid to expand as it freezes. A full tube is a guaranteed cracked tube.
- Autoclaving (121°C): When you need to sterilize something like a buffer solution, high-grade polypropylene tubes can be autoclaved at 121°C and 15 psi. Just be aware that this process weakens the plastic over time. For anything involving cell culture, skip the autoclave and start with certified sterile, single-use tubes.
By truly understanding and respecting both the mechanical (RCF) and thermal (temperature) limits, you turn a simple 50 mL centrifuge tube from a disposable piece of plastic into a reliable and predictable scientific tool. It’s this foundational knowledge that protects your samples, guarantees reproducibility, and prevents those infuriating—and entirely avoidable—experimental failures.
How to Maintain Sterility and Avoid Contamination
For any lab working with cell culture, contamination is the enemy within. One stray fungal spore or bacterium can derail weeks of work, invalidate your data, and consign precious cell lines to the biohazard bin. Your first, and arguably most important, line of defense is the humble 50 ml centrifuge tube.
A sterile tube isn't just clean plastic; it's a miniature, single-use cleanroom for your sample. For any work involving living cells, using tubes certified as sterile is non-negotiable. This certification guarantees the tube has undergone gamma irradiation or treatment with ethylene oxide (ETO) gas—processes that annihilate all living microorganisms and give your culture a fighting chance.
Your First Line of Defense Against Contaminants
The battle against contamination doesn't start when you uncap your sample. It starts with the tube you choose. A high-quality sterile tube is manufactured and packaged in a controlled environment to be free from the invisible saboteurs that can ruin an experiment before it even begins.
A certified sterile tube is your shield against these common lab threats:
- RNases and DNases: These enzymes are everywhere—on your skin, in dust—and they will chew through your RNA and DNA samples in minutes. Any molecular biology application demands RNase/DNase-free tubes.
- Pyrogens (Endotoxins): These are fever-inducing molecules from bacterial cell walls. Even if the bacteria are long dead, pyrogens can trigger inflammatory responses in your cell cultures and throw your results into chaos.
- Mycoplasma: This is the ghost in the machine for cell culture labs. It’s a tiny, wall-less bacterium that’s tough to detect and can subtly alter cell metabolism and behavior, leading to completely false data.
Choosing a quality 50 ml centrifuge tube that is certified sterile and free of these specific contaminants is the single most important step you can take to safeguard your work.
Best Practices for Aseptic Handling
Once you have the right tube, keeping it sterile comes down to technique. Every move you make can either protect your sample or invite disaster. Working inside a biological safety cabinet (BSC) is the standard, but true aseptic technique is a discipline built on deliberate, careful habits.
There’s a reason the market for sterile tubes is so massive. Sterile variants are projected to hold a 58.5% market share by 2026, primarily because they are indispensable for handling mammalian cells and avoiding "mycoplasma hitchhikers." This is the nightmare that plagues an estimated 20-30% of cultures worldwide. A robust 5-step mycoplasma control strategy often involves spinning 50 mL cultures at 3,000 x g for 10 minutes to pellet contaminants and resuspend cells in fresh media, which has been shown to boost reproducibility by as much as 40%. You can explore more about the centrifuge tubes market here.
Aseptic Technique Is a Mindset, Not Just a Place: Treat every surface outside that sterile bag as contaminated. Never touch the tube's opening or the inside of the cap. Your goal is to create an unbroken chain of sterility from the manufacturer's sealed package to your final, closed sample.
Here is a quick, no-nonsense guide for handling a new, sterile 50 ml centrifuge tube:
Prep Your Workspace. Wipe down your entire BSC with 70% ethanol and let it air dry completely. Arrange your pipettes, tips, media, and racks for an efficient workflow that prevents you from reaching over open containers.
Open Sterile Packaging the Right Way. Only open the bag of tubes inside the BSC. Use scissors you've already wiped down with ethanol. Grab the bag from the outside and pull out one tube at a time, making sure not to touch the others.
Handle the Tube and Cap with Care. Always grip the tube by its body, never by the cap or neck. When you take the cap off, don't just set it down on the bench. Either hold it in your hand (using the pinky finger technique) or place it face-up on a sterile surface inside the cabinet.
Work Fast, but Don't Rush. Keep the tube open for the absolute minimum time required. Even in a BSC, airborne contaminants are a constant threat. The second you're done, recap the tube and tighten it securely to ensure the seal is engaged.
By pairing certified sterile tubes with meticulous aseptic technique, you build a formidable barrier against contamination. This protects not just your samples, but the integrity of your entire research.
Selecting the Right 50 mL Tube for Your Work
Choosing the right 50 ml centrifuge tube is one of those small, seemingly trivial decisions that can make or break an entire experiment. It’s not just about finding a tube that fits in your rotor; it’s about making a deliberate choice that prevents sample loss, contamination, or a catastrophic failure in the middle of a high-speed spin.
Think of it this way: a poorly chosen tube is an unforced error. This guide breaks down the selection process into a simple, practical checklist. Walking through these points before you order will give you the confidence that you’ve got the right tool for the job, reducing variables and making your results that much more reliable.
Your Quick-Reference Selection Checklist
Before you start any protocol, run through this mental checklist. It’s a pre-flight check for your samples, ensuring you have the right equipment for a successful run.
Tube Material: Are you just eyeballing a pellet, or are you working with harsh solvents? For a crystal-clear view of your sample, polyethylene terephthalate (PET) is fantastic. But if you need durability for high-speed spins, autoclaving, or aggressive chemical work, you need the workhorse: solvent-resistant polypropylene (PP).
RCF Rating: What’s the max force your protocol demands? Always check the manufacturer's RCF rating. You'll see numbers like 9,000 x g, 15,000 x g, or even 20,000 x g. A good rule of thumb is to pick a tube rated well above what you actually need—that safety margin is critical.
Cap Type: How critical is a perfect seal? For anything involving volatile solvents, long-term freezer storage, or high-g-force spins, a plug-seal cap is non-negotiable. It creates a superior, leak-proof barrier. For more routine tasks where you’re constantly opening, closing, and labeling, a flat-top cap is often far more convenient.
Sterility Certification: Is your work touching anything that’s alive? If you're doing cell culture, PCR, or any molecular biology workflow, this is the most important spec. Always choose tubes that are explicitly certified sterile and free of RNase, DNase, and pyrogens.
For any lab working with cells, that last point—sterility—is the first and most critical fork in the road.

As the decision tree shows, the moment your work involves living cells, the choice is made for you. Certified sterile tubes are the only way to safeguard your experiment from contamination.
Putting It All Together With Real-World Examples
Let’s see how this checklist works in a couple of common lab scenarios. Applying these specs to real protocols makes it much easier to select the right 50 ml centrifuge tube when you’re standing in front of the supply cabinet.
Example 1: Harvesting Mammalian Cells
You're pelleting cells from a few T-75 flasks to prep a lysate for a Western blot. The spin is pretty gentle at 1,500 x g, but you absolutely need to keep things sterile to prevent bacterial proteases from chewing up your proteins of interest.
- Your Best Choice: A polypropylene (PP) tube with a flat-top cap for easy labeling. Crucially, it must be certified sterile, RNase/DNase-free, and pyrogen-free. The g-force is low, so a standard RCF rating is perfectly fine.
Example 2: High-Speed Viral Vector Pelleting
You're concentrating lentivirus from large volumes of cell culture supernatant. The protocol calls for a long, cold, high-force spin at 16,000 x g and 4°C. Here, the integrity of your pellet and the containment of the biohazardous sample are your absolute top priorities.
- Your Best Choice: A high-performance polypropylene (PP) tube that’s explicitly rated for >16,000 x g—ideally one rated to 20,000 x g to give yourself a safety buffer. A plug-seal cap is essential to prevent any chance of leakage or aerosol formation during the run.
By methodically matching the tube's specifications to your protocol's demands, you move from simply grabbing a tube to intelligently selecting a critical piece of equipment. This simple habit drastically reduces the risk of avoidable errors.
Packaging Options: Economy vs. Convenience
One last thing to consider is how the tubes are packaged. This choice impacts both your lab's budget and your daily workflow efficiency.
Bulk Bags: These are your most economical option, usually arriving in large, sterile zip-closure bags. They are perfect for high-throughput labs that burn through hundreds of tubes a week and want to minimize cost and plastic waste.
Racked Tubes: These come neatly pre-arranged in styrofoam or recyclable cardboard racks. They cost a bit more, but they offer immediate, grab-and-go convenience. In a biosafety cabinet, they improve organization and reduce handling, which helps further minimize contamination risk.
Making an informed choice on your 50 ml centrifuge tube is a small investment of thought that pays off with every successful spin.
Troubleshooting Common Tube Failures

We’ve all been there. That sinking feeling when you open the centrifuge and see a cracked tube, a loose cap, or worse, a Jackson Pollock of your precious sample sprayed across the rotor. These failures aren’t just annoying; they obliterate samples, invalidate data, and can create serious biohazards.
The good news? The vast majority of issues with a 50 ml centrifuge tube are entirely preventable. By understanding what causes these failures, you can build the right habits to make sure they never happen again. Let’s walk through the most common problems and how to fix them for good.
Diagnosing Leaks From the Cap
A leak is probably the most frequent—and most easily corrected—problem you’ll face. If you pull a tube from the rotor and find liquid on the outside or notice your sample volume has mysteriously shrunk, the cap seal is your number one suspect.
This almost always boils down to one of two things: how you tightened the cap, or a damaged seal. A cap that's too loose won't properly engage the seal. But cranking it down as hard as you can is just as bad—it can strip the threads or distort the sealing ring, creating the perfect escape route for your sample under high g-forces.
The Solution:
- Aim for a “firm twist,” not a death grip. Turn the cap until you feel it become snug, then give it just a final quarter-turn. This is enough to engage a plug seal without warping the plastic.
- Give the threads a quick look. Before you even pipette, inspect the cap and the tube’s rim. Any visible nicks, cracks, or bits of debris can compromise the seal. A damaged thread will never seal properly.
Preventing Cracks During Centrifugation
Finding a tube that has cracked or completely shattered during a spin is a much more serious problem. This kind of catastrophic failure is a clear sign that the tube was pushed far beyond its physical limits.
The most common culprit is simply spinning it too fast and exceeding its maximum RCF rating. A standard tube rated for 9,500 x g is not going to survive a run at 15,000 x g. The other major cause is using the wrong rotor adapter—or worse, no adapter at all. This leaves the conical bottom completely unsupported and vulnerable to stress fractures.
A 50 ml centrifuge tube needs full support along its entire conical length. Without the correct adapter, all that g-force concentrates at the single point where the tube rests in the rotor bucket, practically guaranteeing a failure.
Always use the specific adapters designed for your centrifuge and tube type. And double-check that the RCF in your protocol is well below the maximum rating for your particular 50 ml centrifuge tube. While some high-performance tubes can handle up to 20,000 x g, many common lab tubes cannot.
Solving Tube Collapse in the Freezer
If you pull a tube out of the freezer and find it cracked or collapsed, the cause is almost always overfilling. When you freeze aqueous solutions, the water inside expands by roughly 9%. If there’s not enough empty space (or "headspace") for that expansion, the pressure has to go somewhere—and it will find the weakest point in the tube wall.
The Fix:
- Never fill a tube above the 40-45 mL mark. For a 50 mL tube, this rule of thumb leaves plenty of headspace for ice expansion.
- Freeze your tubes at a slight angle. This creates a larger surface area for the expanding ice to push against, which distributes the pressure more evenly instead of concentrating it.
- Stick with high-quality polypropylene tubes. These materials are engineered to stay resilient and resist becoming brittle at temperatures down to -80°C.
Mastering these simple troubleshooting checks isn’t just about avoiding a mess. It’s about protecting your samples, ensuring your safety, and building more confidence in your work, one spin at a time.
Frequently Asked Questions About 50 mL Tubes
Working with 50 mL tubes every day brings up a few common questions. Here are the straight-up answers to the ones we hear most often, helping you avoid the common pitfalls that can compromise your work.
Can I Reuse 50 mL Centrifuge Tubes?
For non-critical work like preparing simple buffers, you can technically wash and autoclave polypropylene tubes. But let’s be direct: for any serious cell culture or molecular biology application, always use new, sterile tubes.
Reusing them, even after autoclaving, introduces an unacceptable risk of cross-contamination. Stubborn RNases, residual DNA, or detergent films can survive the cleaning process and completely ruin your next experiment. It's just not worth the risk.
What Is a Freestanding Centrifuge Tube?
Your standard 50 mL centrifuge tube has a conical bottom, which is great for pelleting but means it needs a rack to stand up. A freestanding tube is simply a conical tube molded into a skirted base, allowing it to stand on its own on the lab bench.
This is purely a design for convenience, making it much easier to handle dozens of tubes at once without fumbling for a rack. Performance-wise, a skirted tube is typically identical to its conical counterpart, though you should always double-check the RCF rating as the base structure can sometimes slightly lower it.
Why Did My Tube Crack in the Freezer?
This almost always comes down to one simple mistake: overfilling. When you freeze an aqueous solution, the water expands by approximately 9% as it turns to ice. If there's no room for that expansion, the immense pressure has to go somewhere—and it ends up cracking the tube wall.
To prevent this, never fill a 50 mL centrifuge tube with more than 40-45 mL of your solution before freezing. This simple lab habit leaves just enough headspace to accommodate ice expansion and keeps your valuable samples secure.
At PurMa Biologics, we provide high-purity, certified sterile 50 mL centrifuge tubes designed for reliable performance in demanding cell culture and bioproduction workflows. Explore our reagents and lab essentials at https://www.purmabiologics.com.