
That 15 mL centrifuge tube sitting in your lab rack? It’s more than just a piece of plastic. It's a critical control point for your entire experiment, and a failure here can invalidate weeks of work.
Why the 15 mL Tube Is Your Lab's Unsung Hero
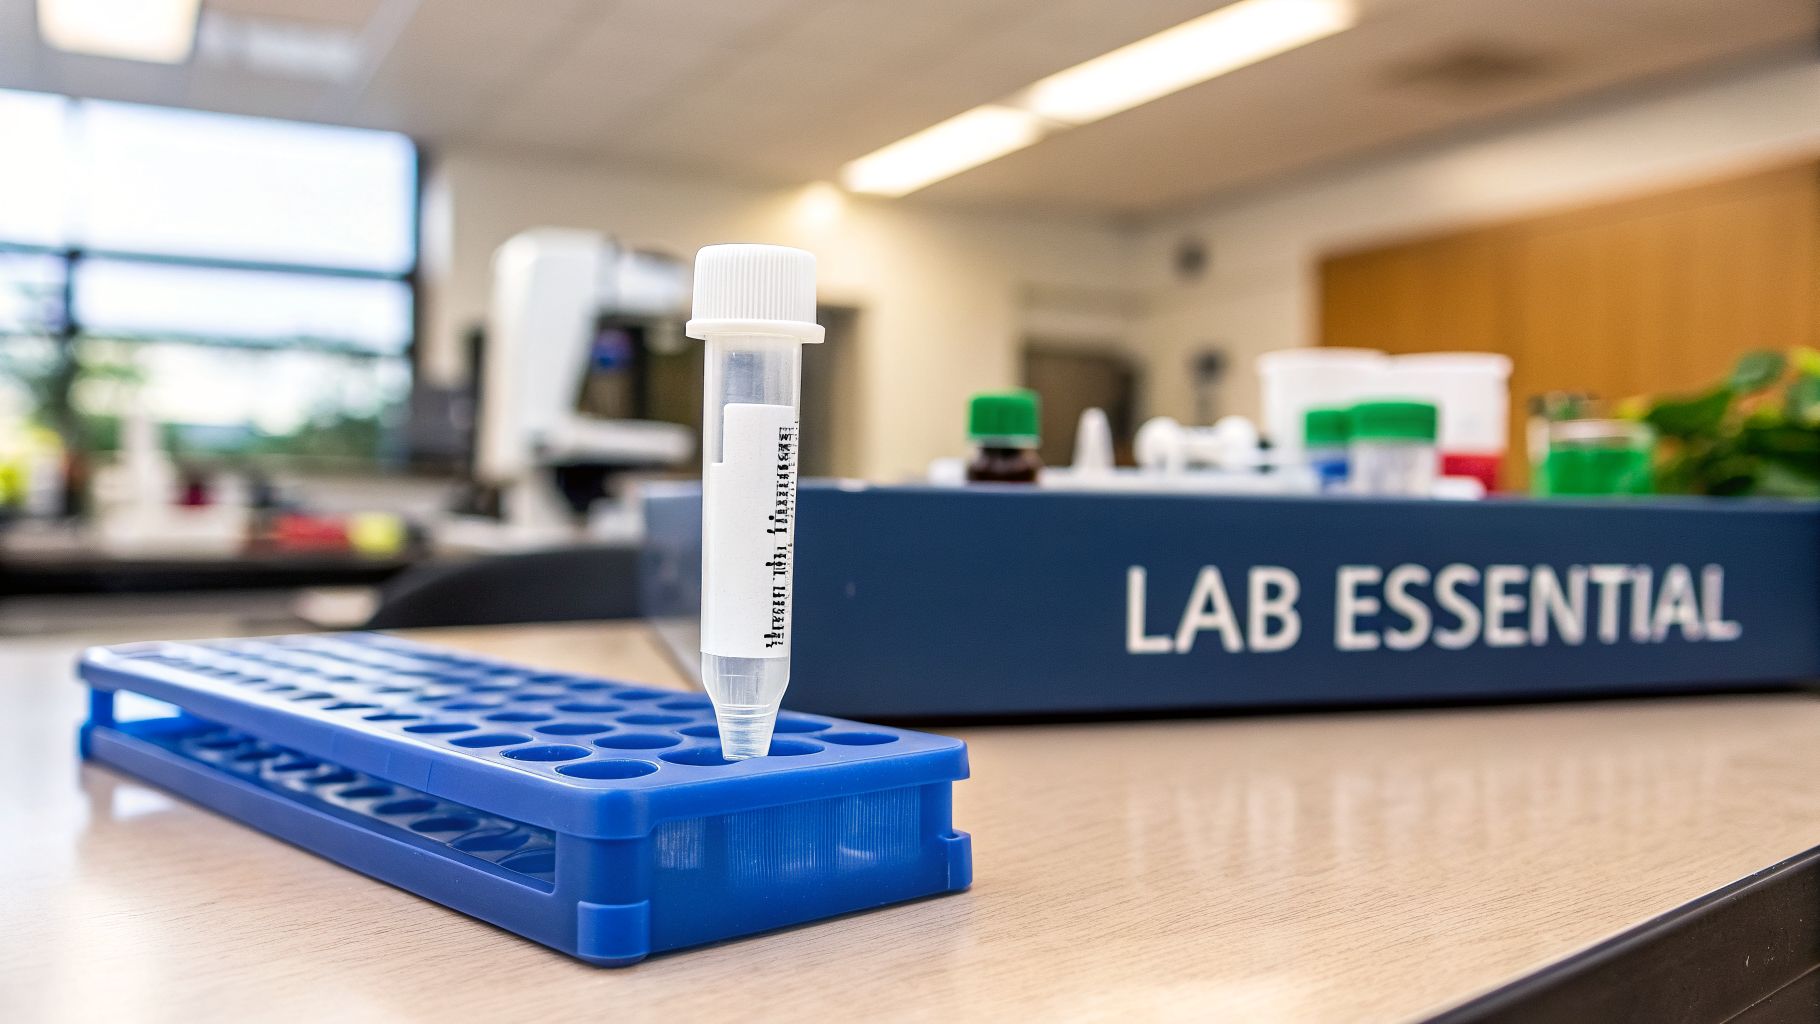
That humble 15 mL tube is one of the most important tools you use every day. Don't think of it as just a container. Think of it as a small-scale bioreactor where the design and material directly impact everything from cell viability to the purity of your final sample.
This specific size became a lab staple for a very good reason. It’s the perfect bridge between small-scale analytical work in microfuge tubes and larger preps that demand 50 mL tubes or bottles. That versatility is indispensable.
The Ideal Volume for Cell Culture
For anyone working in cell culture, the 15 mL capacity is the sweet spot. It holds just enough volume for most common tasks without being wasteful or awkward to handle.
Think about these daily applications:
- Cell Pelleting: A 15 mL tube comfortably handles up to 12 mL of cell suspension—perfect for harvesting cells from a standard T-75 flask. You get efficient pelleting without having to split your sample across multiple smaller tubes.
- Reagent Aliquoting: It’s the go-to size for preparing working stocks of media additives, buffers, or expensive reagents. This minimizes freeze-thaw cycles on your precious main stock.
- Sample Storage: Whether you’re freezing down cell pellets for a future western blot or storing supernatant, the 15 mL tube is a secure, easy-to-label vessel that fits perfectly into standard freezer boxes and centrifuge rotors.
In short, the 15 mL tube is the common thread tying your entire workflow together. It follows your cells from media prep and washing all the way to final analysis, making it a point of control you simply can't afford to ignore.
More Than Just a Container
Ultimately, the quality of your 15 mL centrifuge tube dictates the integrity of your sample. A well-made tube has a secure seal to prevent contamination, minimizes cell adhesion to ensure viability, and withstands the intense physical stress of centrifugation.
Choosing the wrong tube can introduce contaminants, cause sample loss from leaky caps, or even lead to a catastrophic failure inside the centrifuge. Understanding what separates a high-quality tube from a cheap knockoff is the first step to preventing a failed experiment before it even starts.
Choosing Your Tube Material: Polypropylene vs. Polystyrene
Picking the right plastic for your 15 mL centrifuge tube is one of those small decisions that has huge consequences down the line. Get it right, and your experiments run smoothly. Get it wrong, and you’re looking at cracked tubes, lost pellets, and hours of wasted work.
The two materials you’ll encounter most are polypropylene (PP) and polystyrene (PS). They might look similar at a glance, but they are fundamentally different tools for different jobs. Think of it this way: polypropylene is your lab’s workhorse, built for punishment. Polystyrene is your viewing window, built for clarity.
The Workhorse: Polypropylene (PP)
For the vast majority of cell culture applications, polypropylene is the default choice, and for good reason. It’s tough, chemically resistant, and handles temperature swings like a champ. PP tubes are usually semi-translucent or opaque, so you won’t get a crystal-clear view, but you can easily see your liquid levels and pellets.
What you sacrifice in perfect clarity, you gain in sheer performance. A centrifuge tube 15 ml made from polypropylene is the only choice when your protocol involves:
- High-Speed Spins: PP is flexible and incredibly durable, capable of withstanding the massive forces of high-speed centrifugation without cracking or collapsing.
- Extreme Temperatures: This is where polypropylene truly shines. It stays tough whether you’re snap-freezing pellets at -80°C or autoclaving at 121°C for sterilization. Polystyrene would shatter in the freezer and melt into a puddle in the autoclave.
- Harsh Chemicals: PP stands up beautifully to the organic solvents you use every day, like ethanol and isopropanol. The same chemicals would dissolve a polystyrene tube in minutes.
Because of this incredible resilience, polypropylene is the undisputed standard for pelleting cells, long-term freezer storage, and any workflow that demands sterile tubes. It’s the material you trust when your samples can’t afford a point of failure.
The Viewing Window: Polystyrene (PS)
Polystyrene’s claim to fame is its glass-like optical clarity. If you absolutely need to see every detail of your sample—checking for faint turbidity or observing a cell layer without obstruction—then polystyrene delivers an unmatched, transparent view.
But that clarity comes with a trade-off: polystyrene is a brittle, rigid polymer. It’s simply not built for the physical or chemical stress common in most cell biology workflows.
Polystyrene is for observation, not performance. It’s designed for gentle, room-temperature tasks where a clear view is the top priority and the physical demands are low.
Only reach for a polystyrene 15 mL centrifuge tube for light-duty work, such as:
- Aliquoting reagents you plan to use immediately.
- Short-term sample holding at room temperature.
- Very low-speed spins, typically staying under 2,500 x g.
And this is critical: never expose polystyrene tubes to organic solvents. They will cause the plastic to craze, crack, or dissolve entirely, leading to catastrophic sample loss. They are not autoclavable and cannot be frozen, which strictly limits their use in most sterile culture applications.
This handy table breaks down the key differences to help you decide which material fits your needs.
Comparing Polypropylene (PP) and Polystyrene (PS) 15 mL Tubes
A head-to-head comparison to help you choose the right 15 mL tube material based on your specific laboratory application and needs.
| Feature | Polypropylene (PP) | Polystyrene (PS) | Best For… |
|---|---|---|---|
| Optical Clarity | Semi-translucent to opaque | Crystal clear, glass-like | PS for high-visibility tasks. |
| Durability & Strength | Highly durable and flexible; impact-resistant | Brittle and rigid; prone to cracking under stress | PP for any application requiring high speeds or physical robustness. |
| Max RCF | High (typically >10,000 x g) | Very low (typically <2,500 x g) | PP for cell pelleting and any high-speed centrifugation. |
| Temperature Range | Excellent (approx. -80°C to 121°C) | Poor (approx. 4°C to 50°C) | PP for autoclaving and freezer storage. |
| Autoclavable | Yes, at 121°C | No, will melt | PP for sterilization before use. |
| Chemical Resistance | Excellent; resistant to alcohols, and weak acids/bases | Poor; dissolves in organic solvents (e.g., ethanol, acetone) | PP for protocols involving organic solvents. |
| Primary Applications | Cell pelleting, freezer storage, reagent prep, sterilization | Simple aliquoting, low-speed spins, visual sample inspection | PP for all-purpose cell culture; PS for niche, low-stress observational tasks. |
Ultimately, the choice isn't about which material is "better," but which is the correct tool for the job at hand. For any serious, high-stakes cell culture work, polypropylene is the reliable industry standard. For simple, room-temperature visual tasks, polystyrene can be a useful and often cheaper alternative.
Mastering RCF, Temperature, and Rotor Safety
A centrifuge tube’s material is just the beginning of the story. The real test comes when you subject it to immense physical stress inside a centrifuge. This is where a deep understanding of force, temperature, and your equipment isn’t just good practice—it’s absolutely critical for preventing sample loss and ensuring everyone in the lab stays safe.
You'll hear two terms thrown around constantly: RPM and RCF. They are absolutely not interchangeable. RPM, or Revolutions Per Minute, is simple—it just tells you how fast the centrifuge motor is spinning. It’s a machine-specific number that means different things from one model to another, depending entirely on the size of its rotor.
Why RCF Is the Universal Standard
The metric that truly matters in any protocol is RCF, or Relative Centrifugal Force. You’ll often hear this called g-force, and it measures the actual acceleration being applied to your sample. It's a universal and reproducible value. This means a protocol calling for 3,000 x g will apply the exact same force to your cells whether you're using a tiny benchtop microfuge or a massive, floor-standing unit.
Think of it like this: RPM is how fast a car's engine is running, but RCF is the actual speed of the car on the road. Two different cars with their engines at 3,000 RPM could be moving at wildly different speeds.
Always follow protocols based on RCF, not RPM. This ensures your results are consistent and comparable to published methods or experiments run in other labs. If a protocol only lists RPM, you must convert it to RCF for your specific centrifuge.
You can do this with a simple formula: RCF = 1.118 x r x (RPM/1000)², where 'r' is the rotational radius in millimeters (the distance from the rotor’s center to the middle of your 15 ml centrifuge tube). Thankfully, most modern centrifuges handle this conversion for you.
The Dangers of Exceeding RCF Limits
Every 15 ml centrifuge tube has a maximum RCF rating printed on the box or in the spec sheet. Ignoring this is just asking for a disaster. Tough polypropylene tubes can often withstand forces of 12,000 x g or more, but the brittle polystyrene tubes will typically shatter above 2,500 x g.
Pushing a tube past its RCF limit can cause it to:
- Warp or collapse: The tube walls simply can’t handle the pressure and deform, which can break the cap's seal and compromise your sample.
- Crack or shatter: This is the worst-case scenario. You lose your sample completely and, more dangerously, create a fine aerosol of potentially biohazardous material inside the centrifuge chamber.
- Damage the centrifuge: A catastrophic tube failure at high speed throws the rotor dangerously off-balance, which can cause severe and incredibly expensive damage to the centrifuge itself.
This diagram breaks down the key performance differences between the two main materials.
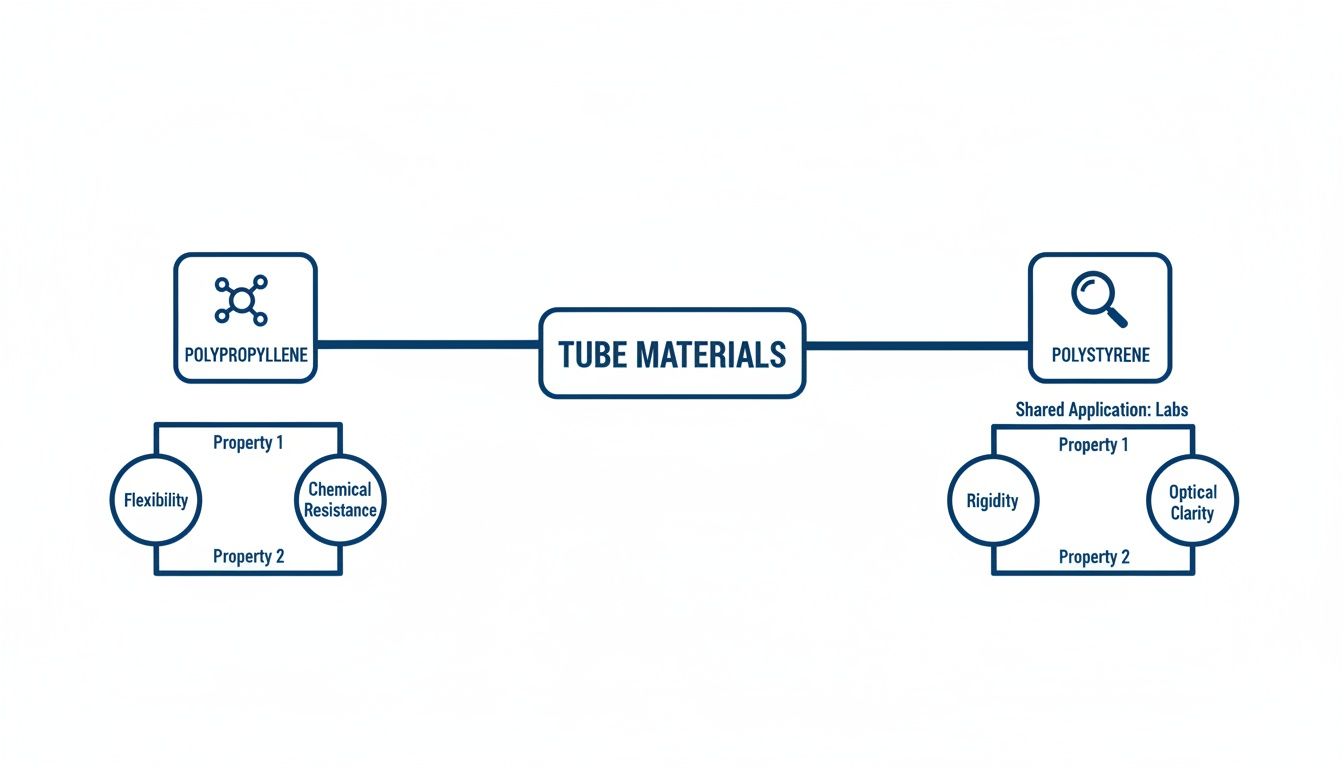
While polystyrene gives you that crystal-clear view, it’s obvious that polypropylene delivers the chemical and physical resilience needed for the really demanding spin-downs.
Matching Your Tube to the Right Rotor
The type of rotor you use also has a huge impact on your pellet and your cells. The two most common types are fixed-angle and swinging-bucket, and they are designed for very different jobs.
In the fast-paced world of biotech and pharma R&D, the 15 ml centrifuge tube has become an indispensable workhorse. These tubes command a massive 58.7% revenue share of the global centrifuge tube market, which hit USD 2.01 billion in 2026. Their popularity stems from a perfect blend of capacity and convenience, making them ideal for pelleting cells, mixing reagents, and storing samples. For example, a single 15 mL tube processing 12 mL of culture at 3,000 x g for 5 minutes can routinely achieve 90-95% cell recovery rates. You can explore more data on the centrifuge tube market to see the full scope of its impact.
1. Fixed-Angle Rotors
These rotors hold tubes at a set angle, usually between 25 and 45 degrees. As the rotor spins, centrifugal force pushes particles against the side of the tube, where they slide down to form a tight, compact pellet in the bottom corner. This makes them perfect for quickly pelleting robust cells or precipitating things like DNA and proteins.
2. Swinging-Bucket Rotors
In this setup, the tubes hang vertically when the centrifuge is at rest but swing out to a full horizontal position (90 degrees) during the spin. The force is applied straight down the length of the tube. This creates a flat, even pellet spread across the entire bottom surface, which is much gentler on delicate primary cells and is the go-to choice for separating samples across a density gradient.
Choosing the right rotor is a strategic decision. You grab a fixed-angle rotor for speed and a tight pellet when working with hardy cell lines. But when you need to preserve the viability of more fragile cells, the swinging-bucket rotor is the only way to go.
Keeping Your Cultures Clean: Sterility and Contamination Control
In any cell culture lab, contamination isn't just an annoyance. It's a catastrophic event that can torch weeks of work and thousands of dollars in reagents. The humble centrifuge tube 15 ml is one of your first and most critical lines of defense against that threat.
Simply put, you cannot afford to get this wrong. Pouring your ultra-pure, expensive cell culture media into a non-sterile tube is like serving a five-star meal on a dirty plate—it defeats the entire purpose. A tube's sterility certification is your assurance that it's free from any living microorganisms that could hijack your culture.
But for demanding work, "sterile" is just the starting point. If you're working with mammalian cells for biologics or cell therapy, the bar is much higher. You need tubes that are not only sterile but also certified as non-pyrogenic (free of endotoxins) and free of DNase/RNase, the enzymes that will chew up your precious DNA and RNA samples.
How Sterilization Works and What It Means for Your Tube
The vast majority of disposable centrifuge tube 15 ml options are sterilized using gamma irradiation. This process zaps the sealed, packaged tubes with energy from cobalt-60, which shreds the DNA of any lingering bacteria or fungi and stops them from ever replicating. It's a powerful and effective method because it works at room temperature, without heating and potentially warping the plastic.
It's important to know, however, that this process isn't entirely without consequence. Gamma irradiation can make polypropylene plastic slightly more brittle over time, a factor that high-quality tube manufacturers engineer their products to withstand. This is also a major reason why re-sterilizing disposable tubes (by autoclaving, for instance) is a terrible idea—you’re compromising the structural integrity of a plastic that was only ever designed for a single use.
This commitment to sterility is a major driver in the lab consumables market. Sterile 15 mL centrifuge tubes are part of a global industry valued at USD 1.2 billion in 2023, with projections to hit USD 2.1 billion by 2032. In high-stakes cell therapy work, using certified sterile tubes has been shown to reduce contamination events by up to 40% compared to their non-sterile counterparts—a massive factor in regulatory confidence. You can learn more about the sterile tube market dynamics and how it’s shaping modern research.
Why Your Cap Choice Is a Critical Contamination Barrier
A tube is only as good as its seal. That cap is what stands between your sample and the airborne contaminants floating around the lab. Just as importantly, it’s what keeps potentially hazardous aerosols from escaping during centrifugation. For a centrifuge tube 15 ml, you'll generally run into two types of caps.
Flat-Top Caps: These offer a nice, flat surface that’s easy to label with a marker. While they’re convenient, the sealing mechanism is simpler and can be less reliable under the high g-forces of a centrifuge.
Plug-Seal Caps: This is the gold standard for anyone serious about sample security. These caps have an extended inner lip that fits down into the tube's opening, creating a positive, leak-proof seal. This design is far better at containing aerosols during high-speed spins, protecting your sample and, more importantly, you.
When you're working with infectious agents, primary human cells, or anything at BSL-2 (Biosafety Level 2), a secure plug-seal cap isn't a "nice-to-have"—it's non-negotiable. The cap’s ability to contain aerosols is a primary safety feature protecting the researcher.
Biosafety Is Your Responsibility
When you spin a tube filled with cells, viral vectors, or other biological materials, immense pressure builds up inside. If that cap seal gives way, it can spray a fine mist of the tube's contents all over the inside of your centrifuge.
When you open that centrifuge lid, those aerosols can get dispersed into the lab air, creating a serious inhalation hazard.
For this reason, always select a centrifuge tube 15 ml with a proven, leak-proof cap—preferably a plug-seal style. Make sure it's tightened firmly but don't crank on it so hard that you strip the threads or crack the plastic. The integrity of your experiment and the safety of everyone in your lab depend on getting these small, but critical, details right.
Best Practices for Handling Your Tubes

Even the most robust centrifuge tube 15 ml will fail if you don’t handle it correctly. Mastering a few simple techniques is the key to protecting your samples, ensuring consistency, and preventing catastrophic centrifuge failures.
Think of these steps as your pre-flight checklist before every spin. Skipping one might feel harmless in the moment, but it introduces a weak link that can compromise your entire experiment. What follows is a perfect training guide for new lab members and a crucial refresher for seasoned scientists.
Proper Filling and Capping
One of the most common mistakes we see is overfilling. It’s called a 15 ml centrifuge tube, but you should never, ever fill it right to the 15 mL mark. This is especially true when using a fixed-angle rotor, where the g-force is applied at an angle, pushing liquid right up against the cap.
A good rule of thumb is to fill tubes to about 80% of their total capacity. For a 15 mL tube, that means a maximum volume of around 12-13 mL.
This headspace is critical. It gives the plastic room to flex under the immense forces of centrifugation and prevents your sample from pressing against the cap threads — a primary cause of leaks and aerosol release.
When sealing the tube, aim for a firm, "finger-tight" closure. If you overtighten the cap, you can warp the plastic and create micro-cracks that lead to failure. If it’s too loose, you risk leaks and dangerous aerosols.
The Art of Precise Balancing
An imbalanced rotor is the cardinal sin of centrifugation. It puts enormous stress on the centrifuge motor and can lead to a violent, catastrophic failure that destroys the instrument and puts lab personnel at risk.
Balancing your tubes by eye is never good enough. Always use a scale.
Here’s a simple, foolproof method:
- Place your sample tube on the scale and write down its exact weight.
- Take a spare centrifuge tube 15 ml to use as a balance.
- Add water to the balance tube until it precisely matches the weight of your sample tube.
- Place the tubes in the rotor directly opposite each other to create a perfect balance.
If you have an odd number of samples, you’ll need to create a three-point balance. This involves making two identical balance tubes, each weighing the same as your sample tube, and placing all three in the rotor to form an equilateral triangle.
Labeling, Storage, and Final Disposal
Clear, permanent labeling is non-negotiable. It prevents the kind of mix-ups that can invalidate weeks of work. Always use a lab marker designed to resist common solvents like ethanol and isopropanol, and write clearly on the frosted area of the tube.
For long-term sample preservation, polypropylene tubes are your go-to for freezer storage, even down to -80°C. Just make sure the caps are securely fastened before you freeze them to prevent contamination. Polystyrene tubes, on the other hand, should never be frozen; they become brittle at low temperatures and will inevitably crack.
Finally, proper disposal is a critical safety step. Any centrifuge tube 15 ml that has touched biohazardous material — like human cells, patient samples, or viral vectors — must be decontaminated before it goes into the trash. This typically means soaking the tubes in a 10% bleach solution or another approved disinfectant before discarding them in the correct biohazard waste container. Always follow your institution's specific biosafety guidelines.
Your Smart Procurement Checklist
Choosing the right 15 mL centrifuge tube isn’t about pinching pennies on a lab commodity. It’s a strategic decision that directly protects your budget, your data integrity, and your regulatory standing. Moving past a simple cost-per-tube mindset requires a sharper, more critical approach.
Think of this as vetting a crucial lab partner, not just buying plastic. A low-bid tube that fails mid-spin, leaches contaminants, or cracks in the freezer will cost you far more in lost samples, wasted reagents, and invalidated experiments than you ever saved on the initial purchase.
Key Technical Specifications
When you get a product data sheet, don't just skim it. Dig in. You're looking for specific, verifiable claims that align with your most demanding protocols. Every centrifuge tube 15 mL that makes your shortlist must have crystal-clear specs for these non-negotiable parameters.
- Material: Is it virgin polypropylene (PP) or polystyrene (PS)? As we’ve seen, PP is the only real choice for high-speed centrifugation, autoclaving, and long-term freezer storage.
- Maximum RCF: The RCF rating must be explicitly stated and comfortably exceed the g-force of your toughest spin. For any serious work, a rating of 12,000 x g or higher is the standard for a quality PP tube.
- Sterility Certification: Look for tubes sterilized by gamma irradiation to a Sterility Assurance Level (SAL) of 10⁻⁶. This isn't just a claim; it must be backed by a certificate of irradiation available for every single lot.
- Purity Claims: For cell culture, this is where the rubber meets the road. Insist on tubes certified as DNase-free, RNase-free, and non-pyrogenic (endotoxin-free). For any sensitive downstream application, these certifications are absolute deal-breakers.
Supplier and Quality Control Evaluation
A great tube is only as good as the company that stands behind it. Your goal isn't a one-time transaction; it's building a partnership with a supplier who guarantees quality today, tomorrow, and a year from now.
Before you even think about a bulk order, demand samples for in-house validation. Run them through the wringer. Test them with your specific centrifuges, your rotors, your temperature extremes, and your chemical reagents. Confirm they perform in your world, not just on a data sheet.
When you're assessing a potential supplier, like PurMa Biologics, you need to ask the tough questions. This is how you gauge their actual commitment to quality:
- Lot-to-Lot Consistency: Can they show you data proving minimal variation between manufacturing lots? This is the bedrock of long-term experimental reproducibility.
- Quality Documentation: Are Certificates of Analysis (CoA) and Certificates of Conformity readily available for every batch you might order? For any lab working under GxP or other regulated frameworks, this paperwork is just as critical as the tube itself.
- Supply Chain Reliability: What’s their strategy for managing stock and lead times? A supplier with a volatile supply chain will eventually disrupt your research. You need a partner who can guarantee stability.
By taking this systematic approach, you stop being a consumer buying a commodity. You become an investor, securing the quality and integrity of your future results.
Frequently Asked Questions
Even the most routine lab work can throw you a curveball. When it comes to something as seemingly simple as a centrifuge tube 15 ml, a few common questions pop up again and again. Here are the quick, practical answers we give to researchers trying to dial in their daily workflow and troubleshoot on the fly.
What's the Real Maximum Volume for a 15 mL Tube?
This is a classic point of confusion, and getting it wrong is a fast track to leaks or a catastrophic tube failure. The hard rule is: you should never fill a 15 mL tube all the way to the 15 mL mark. For any spin, the safe practice is to fill tubes to about 80% of their stated capacity.
For your standard centrifuge tube 15 ml, that works out to a maximum working volume of 12 to 13 mL. That empty space—the headspace—is critical. It gives the plastic room to flex under intense g-forces and stops liquid from getting forced up into the cap threads, which is a primary cause of leaks and dangerous aerosol generation.
Can I Just Wash and Reuse My 15 mL Tubes?
For any work involving cell culture, the answer is a hard no. Disposable plastics are designed, sterilized, and validated for one use only. While it might feel like you're saving a few pennies by washing and reusing tubes, you're introducing an enormous level of risk to your experiments.
Trying to reuse disposable tubes is a false economy. The cost of one failed experiment—in lost time, trashed reagents, and compromised data—will always be higher than the cost of a new plastic tube.
There are two massive problems with reusing tubes:
- Contamination: You can wash a tube all day, but you'll never be certain you've removed every trace of detergent or biological gunk. That creates a huge potential for cross-contamination that will quietly invalidate your results.
- Structural Failure: If you autoclave a standard polypropylene tube, it's going to warp and compromise the cap seal. Even without autoclaving, repeated chemical exposure and the physical stress of centrifugation degrade the plastic, making it far more likely to crack or completely collapse during a spin.
Why Did My Centrifuge Tube Just Crack or Leak?
A tube failure during a spin is more than just frustrating; it can be a serious lab safety incident. In our experience, it almost always boils down to one of three common mistakes. If you just had a tube crack or leak, run through this checklist first.
The most frequent culprit is exceeding the maximum RCF rating. Before you spin, always check the g-force limit printed on the tube or its packaging and make sure your centrifuge settings are below it. And remember, a brittle polystyrene tube has a much lower RCF tolerance (often under 2,500 x g) than a tough polypropylene one.
Second, chemical incompatibility can silently eat away at a tube's integrity. Putting a strong organic solvent like acetone or ethanol into a polystyrene tube is a recipe for disaster—it will either dissolve or become incredibly brittle. Always match your tube material to the chemicals in your protocol.
Finally, an improperly balanced rotor is a major cause of failure. Always balance your tubes precisely with a scale, not just by eye. An unbalanced load creates violent vibrations that can easily shatter a centrifuge tube 15 ml under stress.
PurMa Biologics provides high-quality, certified sterile 15 mL centrifuge tubes designed for consistency and reliability in demanding cell culture applications. Explore our full range of lab consumables and reagents at purmabiologics.com.