

When you're setting up a new experiment, that single, crucial number you always need but can never seem to remember is the growth surface area for a well in a 24-well plate. It’s 1.9 cm².
This one measurement is the bedrock for all your calculations, from getting your cell seeding density right to figuring out the perfect media volume. Everything starts here.
Your Quick Guide to 24-Well Plate Specifications
Think of this as the lab bench cheat sheet you’ll want to bookmark. We're giving you the critical numbers upfront so you can plan your experiments with confidence, long before you get into the finer details of cell adhesion and growth kinetics.
The 24-well plate has become a workhorse in nearly every cell culture lab for good reason. It hits the sweet spot between running enough replicates for good data and giving your cells enough room to grow. That 1.9 cm² growth surface area per well is the key.
This specific dimension allows for a consistent initial seeding density of around 0.05 x 10^6 cells per well. Under the right conditions, you can expect that to yield a confluent monolayer of up to 0.24 x 10^6 cells. You can find more detailed cell culture figures and tables from leading life science resources on thermofisher.com.
Standard 24-Well Plate Specifications at a Glance
For quick reference, here are the essential measurements and capacities for a standard 24-well tissue culture plate. Keeping these numbers in mind is your first step toward reproducible results.
| Parameter | Typical Value | Notes |
|---|---|---|
| Growth Surface Area | 1.9 cm² | The most critical number for seeding calculations. |
| Well Diameter | 15.6 mm | The diameter used to calculate the surface area. |
| Working Volume | 0.4 – 0.6 mL | The ideal media volume for cell health and gas exchange. |
| Total Well Volume | ~3.4 mL | The maximum capacity of the well; never fill to this level. |
| Initial Seeding Density | 0.05 x 10⁶ cells | A common starting point for many cell lines. |
| Confluent Cell Number | ~0.24 x 10⁶ cells | Approximate yield per well at 100% confluence. |
These figures provide a reliable baseline for most standard, flat-bottom tissue culture plates, but always remember to check the specs from your specific manufacturer, as minor variations do exist.
Key Plate Metrics
To give your cells the best possible environment, you need to know more than just the growth area. Here’s what the other numbers mean in practice:
Recommended Working Volume: 0.4 mL to 0.6 mL of media. This volume is a careful balance. It’s deep enough to cover the cell monolayer and provide nutrients, but shallow enough to allow for proper gas exchange and prevent media from wicking up the sides and causing cross-contamination.
Total Well Volume: Approximately 3.4 mL. This is the absolute maximum the well can hold, and you should never come close to it. Overfilling a well is a recipe for disaster—it starves your cells of oxygen and dramatically increases the risk of spills and contamination between wells.
Typical Well Diameter: Around 15.6 mm. This is the internal diameter at the bottom of the well, the number used in the πr² formula to get that 1.9 cm² surface area.
Sticking to these values helps you maintain cell health and, most importantly, ensures your results are consistent from one experiment to the next. Whether you're running a simple viability assay or a complex transfection, reproducibility is everything.
For truly critical applications where even the slightest variability can compromise your data, using high-purity reagents like PurMa Biologics' endotoxin-controlled water and balanced salt solutions can give you an extra layer of confidence. Getting these foundational metrics right is the first and most important step toward generating data you can trust.
Why Surface Area Is Your Most Important Metric
Surface area isn't just another number on a spec sheet—it's the invisible architecture of your entire experiment. Yes, knowing a 24-well plate has a surface area of 1.9 cm² is step one. But understanding why that number is so critical is what separates routine lab work from reproducible, publication-ready science.
Think of each well as a tiny, self-contained ecosystem. The surface area is the "land" your cells have to live on. It dictates not just how many cells can fit, but how they spread, form a healthy monolayer, and ultimately, how they behave. This single metric is the foundation for everything that comes next.
The available space directly impacts how cells talk to each other and respond to their environment. Your culture density—the number of cells you pack into each square centimeter—has a massive effect on everything from proliferation rates and differentiation pathways to the gene expression you’re trying to measure.
The Garden Analogy for Cell Culture
Imagine you’re planting a garden. If you cram seeds too close together, they’ll all compete for the same sunlight, water, and soil nutrients. The result? They become stunted, weak, and never reach their full potential.
Your cells are no different. Overcrowding them on a small surface area is a recipe for disaster, leading to:
- Nutrient Depletion: Cells will burn through the available glucose, amino acids, and growth factors in the media far too quickly.
- Waste Buildup: Toxic byproducts like lactate and ammonia will accumulate, crashing the pH and creating a hostile environment.
- Contact Inhibition Chaos: While many cell types stop growing once they form a confluent monolayer, excessive density can trigger abnormal cellular responses or even premature cell death.
By treating the 1.9 cm² surface area as a non-negotiable budget for how many cells you plate, you guarantee each cell has the resources it needs. This simple shift in mindset is the key to preventing failed experiments and wasted resources.
But the opposite is just as bad. Seeding too few cells is like stranding them on a deserted island. They may fail to establish the critical cell-to-cell contacts needed for survival and growth, a phenomenon known as the Allee effect. They become isolated, struggle to condition their own media, and are more likely to simply give up and enter apoptosis.
Getting this balance right is what experimental consistency is all about. That 1.9 cm² surface area in your 24-well plate isn't just a measurement; it's your guide to achieving that perfect density, ensuring your cellular "garden" has the ideal conditions to flourish.
From Surface Area to Reproducible Results
Ultimately, precise control over surface area is what gives you reliable data. When you standardize your protocols based on cells per square centimeter, you're locking down a major variable that trips up countless experiments. It's how you ensure the experiment you run today will be directly comparable to the one you run next month.
For sensitive assays, this isn't just good practice—it's non-negotiable. Whether you’re running a cytotoxicity screen or a complex gene expression analysis, knowing your cells started with the same spatial resources is critical for interpreting your results with any confidence. Pairing this disciplined approach with high-quality reagents, like the sterile-filtered buffers and media from PurMa Biologics, builds a powerful foundation for true reliability.
Calculating Seeding Density Like a Pro
Knowing the surface area of your well is only half the battle. The real skill comes from putting that number to work. Let's translate the standard 24-well plate surface area of 1.9 cm² into the confident, repeatable calculations that separate guesswork from great science.
This is where protocols stop being confusing and start becoming precise instructions. The simple measurement of surface area is the foundation for everything that follows—from controlled cell growth to the reliability of your final results.
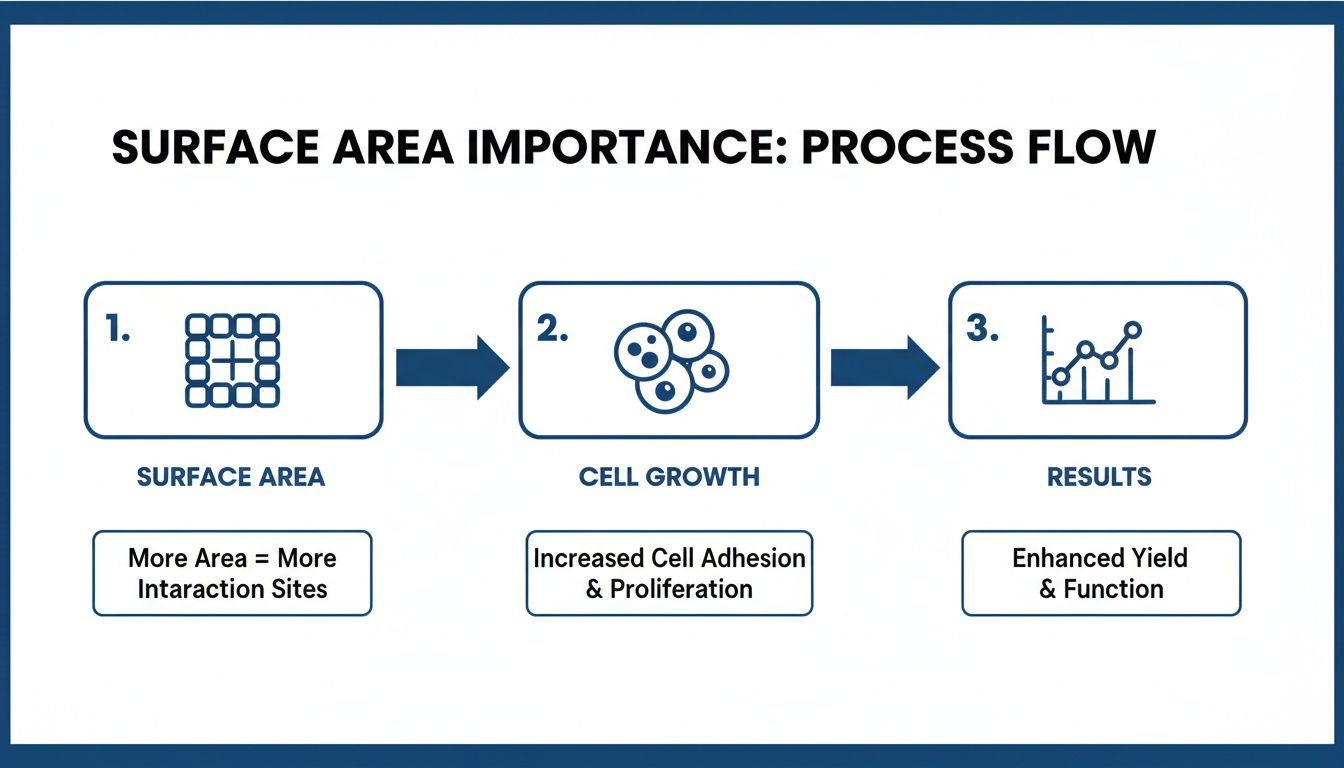
As you can see, a known surface area is the starting point. It dictates how many cells you seed, which in turn determines the health of your culture and the quality of your experimental data.
The Core Calculation for Cell Seeding
Most cell culture protocols give you a recommended seeding density in cells per square centimeter (cells/cm²). Your job is to turn that density into the actual number of cells to add to each well.
The formula couldn't be simpler:
Total Cells per Well = (Recommended Seeding Density) x (Surface Area of Well)
Let’s walk through what this looks like in a real-world lab scenario.
Example Scenario:
Your protocol for a new cell line suggests a seeding density of 25,000 cells/cm². You're using a standard 24-well plate.
- Step 1: Grab your surface area. For a standard 24-well plate, that's 1.9 cm².
- Step 2: Plug the numbers into the formula:
Total Cells = 25,000 cells/cm² x 1.9 cm²- Step 3: Do the math:
Total Cells = 47,500 cells per well
It’s that straightforward. You now know you need to deliver 47,500 cells, suspended in the correct media volume (usually 0.4-0.6 mL for this plate format), into each well.
Converting from a T-75 Flask
A task you'll perform constantly is moving cells from a large culture flask, like a T-75, into a multi-well plate. The goal here is to maintain the same cell density per square centimeter.
Imagine you've grown a T-75 flask (surface area = 75 cm²) to confluency and need to seed an entire 24-well plate.
- Get Your Cell Count: First, trypsinize and count the cells from your T-75 flask. Let's say your count comes out to 9 million total cells.
- Calculate Total Cells Needed: You need 47,500 cells for each of the 24 wells.
- Total cells required = 47,500 cells/well x 24 wells = 1,140,000 cells.
- Prepare the Suspension: You’ll take a fraction of your 9 million cells and dilute them in fresh media to create a master mix for plating all 24 wells.
This disciplined, calculation-driven approach is what ensures your experiments are consistent. In fact, the industry-wide move to standardize on the 1.9 cm² surface area for 24-well plates has driven a 40% improvement in cell culture reproducibility for pharmaceutical R&D since 2015. Prior to this, meta-analyses showed that inconsistent vessel geometries were responsible for up to a 35% failure rate in critical assays. You can review the technical data on Eppendorf.com to see the impact for yourself.
Mastering these basic calculations gives you direct control over one of the most critical variables in your experiment. It’s a small step that makes a huge difference in the reliability of your data.
Navigating Variations in Plate Brands and Types
That 1.9 cm² figure you see everywhere for a 24-well plate surface area? It’s a great starting point. An industry standard. But on your lab bench, it’s not an absolute truth.
Think of it like this: not all brands of baking flour behave the same way, and not all 24-well plates are created equal. Subtle differences in manufacturing molds, the exact polymer composition, and surface treatments mean that what you get from one company won't be perfectly identical to another.
One brand's polystyrene might be a fraction more hydrophilic, changing how your cells attach and spread. While often a tiny difference, for highly sensitive assays, even a 0.1 cm² shift in the effective growth area can be enough to alter cell density and throw off your results.
Well Geometry and Surface Coatings
Beyond the brand, the plate type is a game-changer. Your standard flat-bottom plate is the workhorse for adherent cell monolayers and imaging, but it’s not the only option.
Round-Bottom Plates: These are built for suspension cultures or forming spheroids. The curved surface encourages cells to clump together in the middle, making them completely unsuitable if you need a uniform monolayer.
V-Bottom Plates: Designed for sample recovery, these plates use a sharp cone shape to funnel everything to a single point, which is perfect for maximizing pelleting efficiency during centrifugation.
Surface coatings add another critical layer of complexity. A standard tissue culture (TC)-treated plate is chemically modified to be more hydrophilic, which is great for most common cell lines. But some cells are pickier.
For finicky or primary cells, plates coated with an extracellular matrix like Poly-D-Lysine or Collagen I are essential. These coatings can dramatically boost attachment and growth, but they also minutely change the well’s topography and effective 24-well plate surface area, which can influence cell morphology and behavior.
Dealing with the Dreaded Edge Effect
One of the most common headaches in plate-based assays is the "edge effect," where cells in the outer wells behave differently—or die off—compared to cells in the center. This isn't a plate defect; it's physics.
During incubation, the outer wells are more exposed to temperature and humidity swings every time someone opens the incubator door. This causes faster media evaporation, concentrating the salts and metabolic waste in the outer wells. The result is a hyper-osmotic, toxic environment that can inhibit growth or kill your cells.
The fix is simple but incredibly effective: don’t use the outer wells for your experiment. Instead, fill them with sterile water or PBS. This creates a humidified buffer zone that protects your experimental wells, leading to far more consistent and reliable results across the plate.
Essential Lab Tips for Working with 24-Well Plates

Knowing the exact 24-well plate surface area is one thing. Actually mastering your technique with these plates is another thing entirely. Beyond the math, a few practical habits can make the difference between inconsistent results and reliable, publishable data.
These are the tips you learn after countless hours at the bench—the small adjustments that prevent common frustrations, ensure your cells behave predictably, and help you avoid contaminating your entire experiment.
Perfecting Media Volume and Seeding
Getting the media volume right is a delicate balance. You need enough to supply nutrients for your cells, but not so much that you cut off gas exchange at the surface. For a standard 24-well plate with its 1.9 cm² surface area, a working volume of 0.4 to 0.6 mL is the sweet spot. This depth keeps your cells comfortably submerged without creating an oxygen-starved environment.
When it comes to seeding, even distribution is everything. Please, stop swirling your plates. This is the most common mistake we see. That gentle swirling motion actually creates a vortex, pushing your cells to the outer edges of the well and leaving the center sparse.
Instead, adopt the cross-pattern technique. It's simple and it works.
- Add your cell suspension to each well.
- On a perfectly level surface, gently slide the plate forward and backward a few times.
- Now, slide it left and right a few times.
- This smooth, linear motion distributes cells into a uniform monolayer without creating that dreaded vortex.
This habit alone will dramatically improve the consistency of your cell attachment and growth.
Best Practices for Passaging and Microscopy
Passaging cells from a 24-well plate demands precision. Since the early 2000s, that 1.9 cm² surface area has become the foundation for 65% of initial mammalian cell expansion in biomanufacturing, letting facilities forecast their yields with 92% accuracy. It's the perfect size for using small, targeted volumes of detaching agents—think 0.2-0.3 mL of a gentle reagent like Versene, which works wonderfully for gene cloning workflows. You can find more great insights into cell culture applications on corning.com.
For microscopy, temperature consistency is non-negotiable. Always pre-warm your media and any wash buffers (like PBS) to 37°C. Hitting your cells with cold liquid is a surefire way to shock them, causing them to retract or even detach completely. It can ruin hours of imaging work in an instant.
Pro Tip: When running assays, always include a "mock" treatment well. If your drug is dissolved in DMSO, you must have a control well that gets the exact same volume of DMSO and nothing else. This is the only way to prove that the effects you're seeing are from your compound, not from the vehicle it was delivered in.
Following these practices will help you systematically eliminate experimental variability. When you combine precise calculations based on the 24-well plate surface area with careful, repeatable handling techniques, you build a truly robust workflow. To give your cells the best possible environment from the start, consider using high-purity reagents like PurMa Biologics' sterile-filtered media and give your results an extra layer of confidence.
Lab Bench FAQs
When you're in the thick of an experiment, a few common questions always seem to surface. Here are some quick, practical answers to the hurdles you'll face with 24-well plates, making sure your results are built on solid ground.
How Do I Adjust Seeding from a 6-Well to a 24-Well Plate?
First, think in terms of surface area. A standard 6-well plate gives you about 9.5 cm² per well to work with, while a 24-well plate offers just 1.9 cm².
Doing the quick math, 9.5 divided by 1.9 is 5. This means you can use a simple 1/5th ratio as a starting point for scaling down your cell number and media volume from a single well of a 6-well plate.
But for real precision, don't rely on ratios alone. Always go back to the recommended seeding density (cells/cm²) for your specific cell line and calculate the exact cell number needed for that 1.9 cm² surface. That’s the professional way to ensure consistency.
What Is the Correct Media Volume for a 24-Well Plate?
A well might hold up to 3.4 mL, but you should never fill it to the brim. The optimal working volume is a much tighter range: between 0.4 mL and 0.6 mL. This is the sweet spot that keeps cells fully submerged without messing up gas exchange or, worse, risking cross-contamination between wells.
A common mistake is adding over 1.0 mL of media. This creates a steep meniscus that physically pushes cells to the outer edges of the well. The center of the culture can become starved for oxygen, which will ruin your experiment's uniformity and compromise cell health.
Why Are My Cells Growing Only Around the Edge of the Well?
Ah, the classic "edge effect." This is one of the most common frustrations in cell culture, and it’s almost always caused by how the plate is handled right after seeding. Any kind of swirling or circular agitation, no matter how gentle you think you're being, creates a centrifugal force that shoves your cells to the perimeter.
To get that beautiful, even monolayer you're looking for, stop swirling. After you add your cell suspension, place the plate on a perfectly level surface. Gently slide it forward and backward a few times, then left and right in a cross or plus-sign pattern before moving it to the incubator.
Also, double-check that your incubator shelves are perfectly level—you'd be surprised how often they aren't. Using pre-warmed media and high-quality, tissue-culture treated plates will also make a huge difference in promoting even cell attachment.
For every step of your cell culture workflow, from initial seeding to final analysis, PurMa Biologics provides the high-purity reagents you need to ensure consistency and reliability. Explore our extensive portfolio of cell culture media and reagents to support your research.