

Cell culture contamination is the unwanted introduction of microbes or foreign cells into what should be a completely sterile lab culture. It's a silent saboteur that can obliterate weeks of hard work, invalidate your most critical research, and cost your lab thousands in wasted resources.
The Invisible Threat in Your Lab

Think of an invisible spy infiltrating a high-security facility. It moves completely undetected, quietly corrupting your most valuable assets and compromising your entire operation from the inside out. This is exactly what cell culture contamination does to your experiments.
For any lab—whether in biopharma, R&D, or academia—this isn't just a minor nuisance. It's a critical operational risk.
This silent threat can take many forms, each with its own signature of destruction. Some invaders, like bacteria, announce their presence loudly with cloudy media and sudden pH shifts. Others, like the notorious mycoplasma, are far more insidious. They operate in total stealth, altering cell behavior and metabolism without any of the obvious visual signs you're trained to look for.
A single contamination event can have a devastating ripple effect, invalidating not just one experiment but potentially an entire research project. The financial and scientific consequences are why vigilant prevention and detection are non-negotiable.
The Primary Contamination Culprits
To get a handle on the problem, you first have to know your enemy. Each type of contaminant poses a unique challenge and requires a different level of vigilance to keep your cultures clean.
Here's a quick rundown of the main types of contamination you'll encounter.
| Quick Guide to Common Cell Culture Contaminants | |||
|---|---|---|---|
| Contaminant Type | Common Visual Signs | Typical Frequency | Detection Speed |
| Bacteria | Cloudy media (turbidity), sudden pH drop (yellow media), visible specs under microscope. | Common | Fast (12-48 hours) |
| Fungi (Mold & Yeast) | Fuzzy colonies (molds), filamentous structures (hyphae), small budding particles (yeasts). | Occasional | Moderate (2-5 days) |
| Mycoplasma | None. No turbidity, no pH change. May cause slower growth or reduced viability. | Very Common | Slow (requires specific tests) |
| Viruses | Altered cell morphology or growth patterns, but often no obvious signs. | Less Common | Very Slow (requires specific assays) |
| Cross-Contamination | Changes in morphology or growth rate over several passages as the invading cell line takes over. | Common | Slow (requires authentication) |
As you can see, what you can't see is often the biggest problem. Below are the culprits in more detail.
Bacteria: These fast-growing, single-celled organisms are the most frequent offenders. They can quickly overwhelm a culture, making the media turbid and acidic practically overnight.
Fungi (Mold and Yeast): Molds are easy to spot, forming visible fuzzy colonies or thread-like filaments (hyphae). Yeasts, on the other hand, appear as small, budding particles that can sometimes be mistaken for cellular debris.
Mycoplasma: This is the big one. Mycoplasma are tiny bacteria that lack a cell wall, making them resistant to common antibiotics like penicillin and invisible to a standard light microscope. They are a massive source of persistent, low-level contamination that can ruin your data without you even knowing.
Viruses: These microscopic agents infect cells directly, altering their growth, morphology, and function. They can compromise your experimental results without ever killing the culture outright.
Cross-Contamination: This happens when you accidentally introduce a different cell line into your primary culture. If it goes undetected, it can lead to completely inaccurate data and, in the worst cases, retracted publications.
Recognizing the stakes involved with these threats is the first step toward building a more resilient cell culture workflow. From here, we can dig into how to effectively identify, prevent, and deal with contamination to safeguard your research.
Identifying the Contamination Culprits
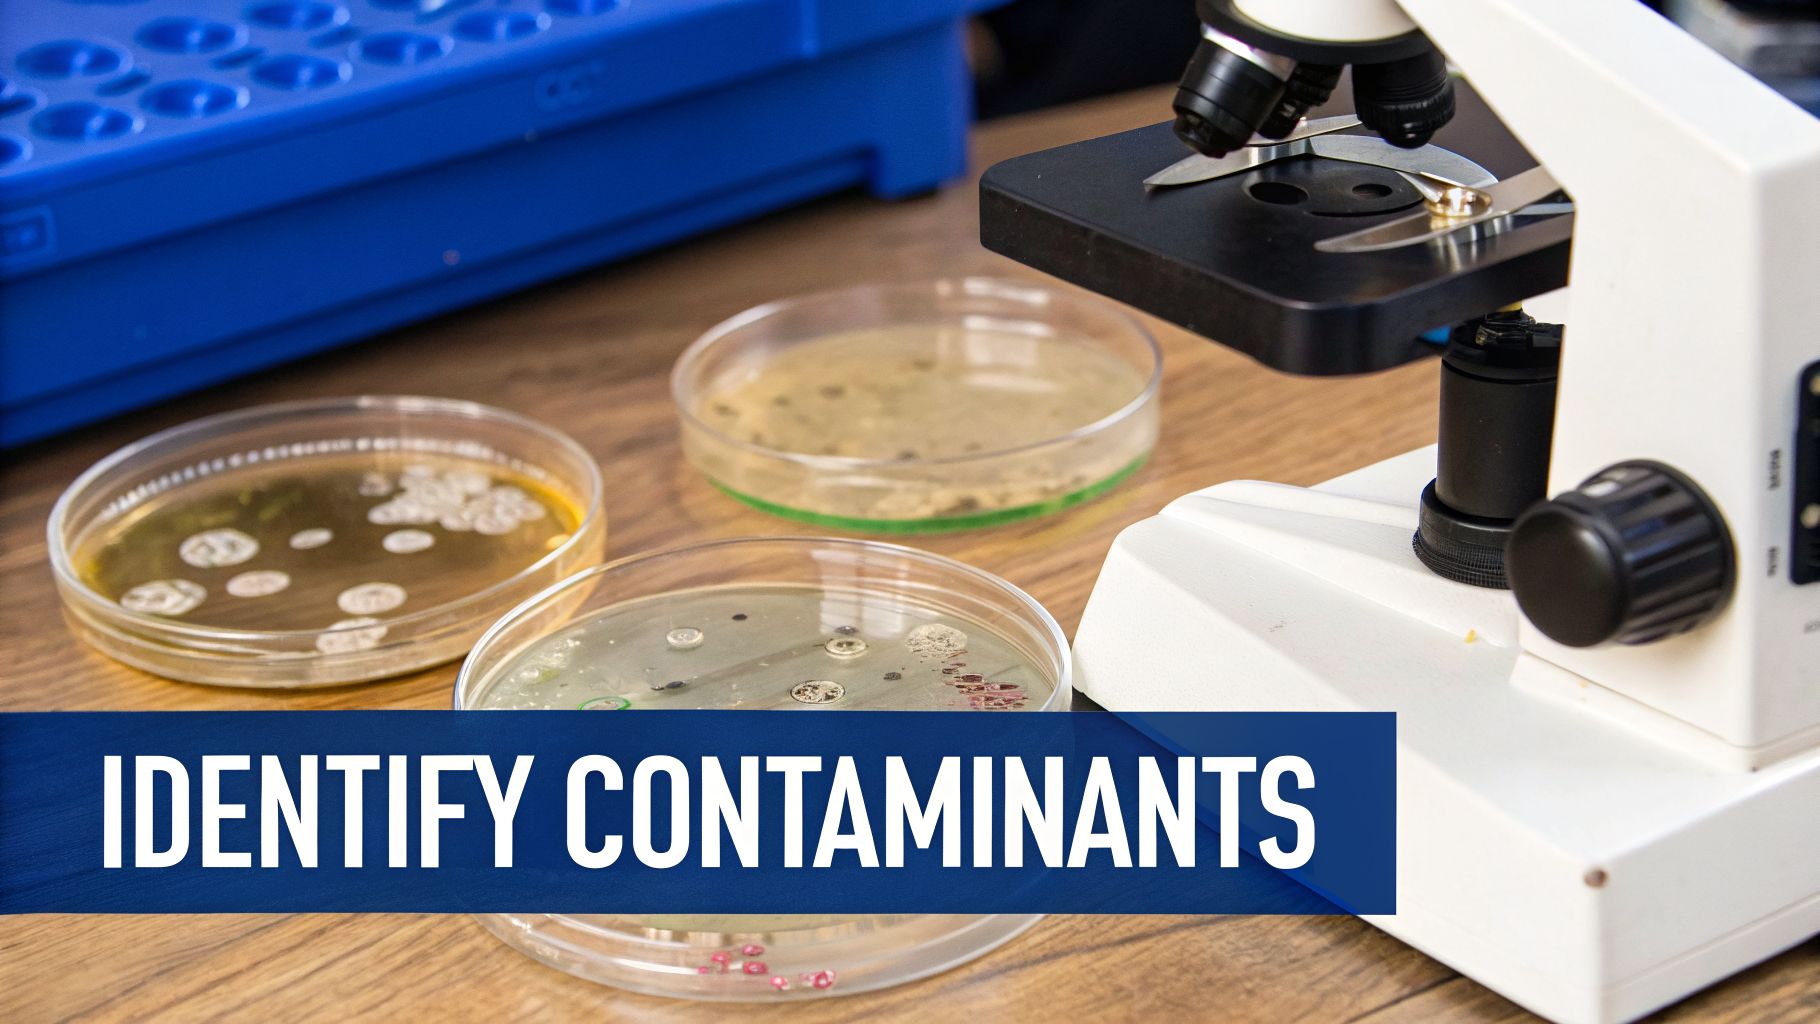
Once you suspect a problem, the first job is to play detective. You need to figure out exactly what’s invaded your flasks. Every type of cell culture contamination leaves its own distinct signature, and learning to recognize them is one of the most fundamental skills you can develop in the lab.
Let's walk through the main suspects, from the blatantly obvious to the dangerously stealthy.
Bacterial Contamination: The Fast and Furious Invader
Bacteria are the most common and often the easiest contaminant to spot because they move fast and hit hard. If you left a perfectly clear, pink flask on Friday and came back Monday to a cloudy, yellow soup, you've just met your prime suspect.
Think of it as a flash fire in your culture. The bacteria tear through the nutrients in your media, spewing out acidic waste that sends the pH plummeting. That’s why the phenol red indicator in your media flips from a healthy pinkish-red to a sickly, unmistakable yellow.
Look under the microscope and you’ll see it. Tiny, dark specks zipping around between your cells. They can be rod-shaped (bacilli) or spherical (cocci), but it's their rapid, jerky movement that gives them away. This isn't just cellular debris floating around; it's a full-blown invasion.
Fungal and Yeast Contamination: The Slow-Growing Menace
Unlike the shock-and-awe campaign of bacteria, fungal contamination is a bit more patient. It creeps in slowly, which can make it trickier to catch early, but it’s no less destructive in the end. In the lab, you'll mainly encounter two forms: molds and yeasts.
- Molds: You can often spot these with the naked eye. They look like fuzzy, cotton-like clumps floating in the media or clinging to the flask surface. Under the microscope, you'll see their true form: a tangled network of long, thread-like filaments called hyphae.
- Yeasts: These show up as small, individual oval or round particles. While they're bigger than bacteria, they can sometimes be confused with dying cells. The dead giveaway is budding—where you'll see a smaller daughter cell emerging from a parent cell.
The real problem with fungi is their spores. They are incredibly tough and go airborne with ease. A single contaminated flask can quickly seed an entire lab if you’re not careful. It's a stark reminder of how easily invisible threats can spread, a principle well-documented in a guide to bacteria in air conditioning systems, showing how microbes infiltrate even the most controlled environments.
Mycoplasma Contamination: The Silent Saboteur
Mycoplasma is the ghost in the machine of cell culture. These incredibly small bacteria are the ultimate stealth pathogens because they give you zero visible signs of an infection. Your media stays clear. Your pH remains stable. And at a quick glance, your cells might even look fine.
Mycoplasma has no cell wall, which makes it resistant to common antibiotics like penicillin and too small to be seen with a standard light microscope. It silently rewires your cells—altering metabolism, growth rates, and gene expression—completely invalidating your data while you remain blissfully unaware.
Don't underestimate this invisible enemy. Its prevalence is genuinely shocking. One major 2-year study of over a thousand cell lines found that a staggering 39% were microbially contaminated. Mycoplasmas were the number one culprit, present in 19% of all samples, blowing past fungi (8%) and bacteria (4%).
Because it's impossible to spot visually, the only defense against this data-destroying organism is routine testing with specific methods like PCR.
Viral and Cross-Contamination: The Threats to Integrity
Finally, we have two other forms of contamination that don’t just ruin an experiment—they undermine the very integrity of your research.
Viral Contamination
Just like mycoplasma, viruses are invisible assassins. They hijack your cell's own machinery to replicate, which can cause subtle shifts in cell behavior, morphology, or growth. Unless the virus is cytopathic (meaning it kills the cells), you may never notice anything is wrong. All the while, your experimental results are being fundamentally compromised.
Cross-Contamination
This is a self-inflicted wound: the accidental mixing of one cell line into another. Picture this: you're carefully nurturing a culture of slow-growing primary neurons, but a few hyper-aggressive cancer cells (like HeLa) accidentally get introduced. In just a few passages, the faster-growing HeLa cells will completely dominate the culture. You'll think you're studying neurons, but you’ll actually be generating data on the wrong cells entirely. This is a leading cause of irreproducible results and retracted papers. The only way to be sure your cells are what you think they are is through routine cell line authentication.
Tracing Contamination to Its Source
When a culture suddenly turns cloudy or your cells start dying off for no apparent reason, the first question is always the same: where did this come from? Figuring out that you have a contamination is only the first step. The real work is tracing it back to the source to make sure it never, ever happens again.
Think of your lab’s workflow as a sterile chain. Every single link—from your hands to the media bottle to the air in the hood—has to be perfect. A single weak link is all it takes to cause a full-blown, experiment-ending disaster.
To pinpoint the source, you have to become a lab detective. The culprits nearly always fall into one of three buckets: the person doing the work, the lab environment itself, or the materials you’re using.
The Human Element
This might be tough to hear, but the person in the lab coat is the most common source of contamination. Even the most careful scientist can have a momentary lapse in technique, and that’s often all it takes. Aseptic technique isn’t just a skill; it’s a discipline that demands constant, unwavering focus.
The most frequent entry points are embarrassingly simple:
- Improper Hand-Washing or Gloving: Unwashed hands or gloves that weren’t properly sprayed down are a direct shuttle for bacteria and fungi into your culture.
- Talking, Sneezing, or Coughing: Your mouth is a major reservoir for microbes. Speaking over an open flask is a classic, rookie mistake that seeds bacteria and, notoriously, mycoplasma directly into your media.
- Poor Aseptic Technique: Moving a non-sterile item over an open plate. Letting a pipette tip touch the outside of a reagent bottle. Working too fast and creating air currents. These are the small sins that break the sterile barrier.
- Personal Hygiene: It sounds basic, but loose hair can fall into your work area. Jewelry can harbor microbes. A lab coat worn outside the lab and then brought back to the hood can carry in anything it touched.
These everyday actions are the single biggest risk to your cultures. A moment of distraction is all a contaminant needs to ruin weeks of work.
The Laboratory Environment
Your lab itself can be a silent reservoir of contaminants, just waiting for the right moment. Your biosafety cabinet and incubator are supposed to be sterile havens, but they are only as clean as your last maintenance check.
Think of your biosafety cabinet as a sterile sanctuary. But if its defenses are down—like a faulty air filter or a cluttered workspace—that sanctuary becomes a trap. Overcrowding the cabinet disrupts the protective airflow, creating dead zones where contaminants can settle and invade your cultures.
These environmental weak spots are often overlooked until it's too late:
- Faulty Biosafety Cabinets (BSCs): If your HEPA filter hasn't been certified in the last year, you can't trust the air inside. Likewise, cramming the cabinet full of equipment blocks the laminar airflow curtain that’s supposed to be protecting your work.
- Dirty Incubators: That small media spill you figured you'd clean up later? It’s now a five-star hotel for bacteria and fungi, thriving in the warm, humid conditions.
- Contaminated Water Baths: A 37°C water bath without an antimicrobial agent is nothing more than a warm bacterial soup. Every time you place a flask or bottle in it, you’re coating the outside with a film of microbes, ready to be carried back to the hood.
The Materials and Reagents
Finally, the very materials you trust can betray you. If a reagent arrives contaminated, no amount of perfect technique is going to save your experiment. This is why you can’t cut corners on sourcing quality materials.
The usual suspects include:
- Media, Serum, and Supplements: Fetal Bovine Serum (FBS) is a notorious potential source for mycoplasma and even viral contaminants. Even sterile-filtered media can be compromised the first time it’s opened with less-than-perfect technique.
- Shared Reagent Bottles: That big, communal bottle of media or trypsin that everyone in the lab uses? It’s a game of Russian roulette. All it takes is one person with poor technique to contaminate the bottle for everyone.
- Cell Stocks: The problem might have walked in the door with the cells. An incoming cell line, especially from a collaborator’s lab or an unverified source, may already be contaminated. You should always quarantine and test new cell lines before they ever see your main incubator.
Each of these vulnerabilities is a potential breaking point in your workflow. By understanding these common sources of cell culture contamination, you can start thinking defensively and turn your lab from a potential minefield into a fortress.
How to Detect Invisible Contaminants
When you suspect your culture is off, you need answers. Fast. While some invaders are obvious—cloudy media, floating fungal colonies—the most destructive threats are often completely invisible to the naked eye.
Telling the difference between a healthy culture and one quietly being sabotaged by mycoplasma or a virus means going beyond simple visual checks. It's time to bring in the heavy hitters of detection. Your choice of method will always be a trade-off between speed, sensitivity, and cost. It’s about picking the right tool for the right job, whether you're doing routine QC in an academic lab or following strict GMP protocols for biomanufacturing.
Starting with the Basics: Visual and Culture-Based Methods
Your first line of defense is always the simplest: just looking at your culture. A standard light microscope is great for spotting the usual suspects like bacteria, yeast, and mold. But that's where its usefulness ends. It’s completely blind to the stealth contaminants that can derail your research for months.
The next step is to lean on traditional microbiology. By streaking a sample of your culture media onto an agar plate and incubating it, you give any lurking bacteria or fungi the perfect environment to grow into visible colonies. While it works for these microbes, this method is painfully slow, often taking days. More importantly, it’s completely useless for detecting mycoplasma or viruses.
Before diving deeper into detection, it's crucial to understand where these contaminants even come from. This flowchart breaks down the common entry points into a supposedly sterile environment.
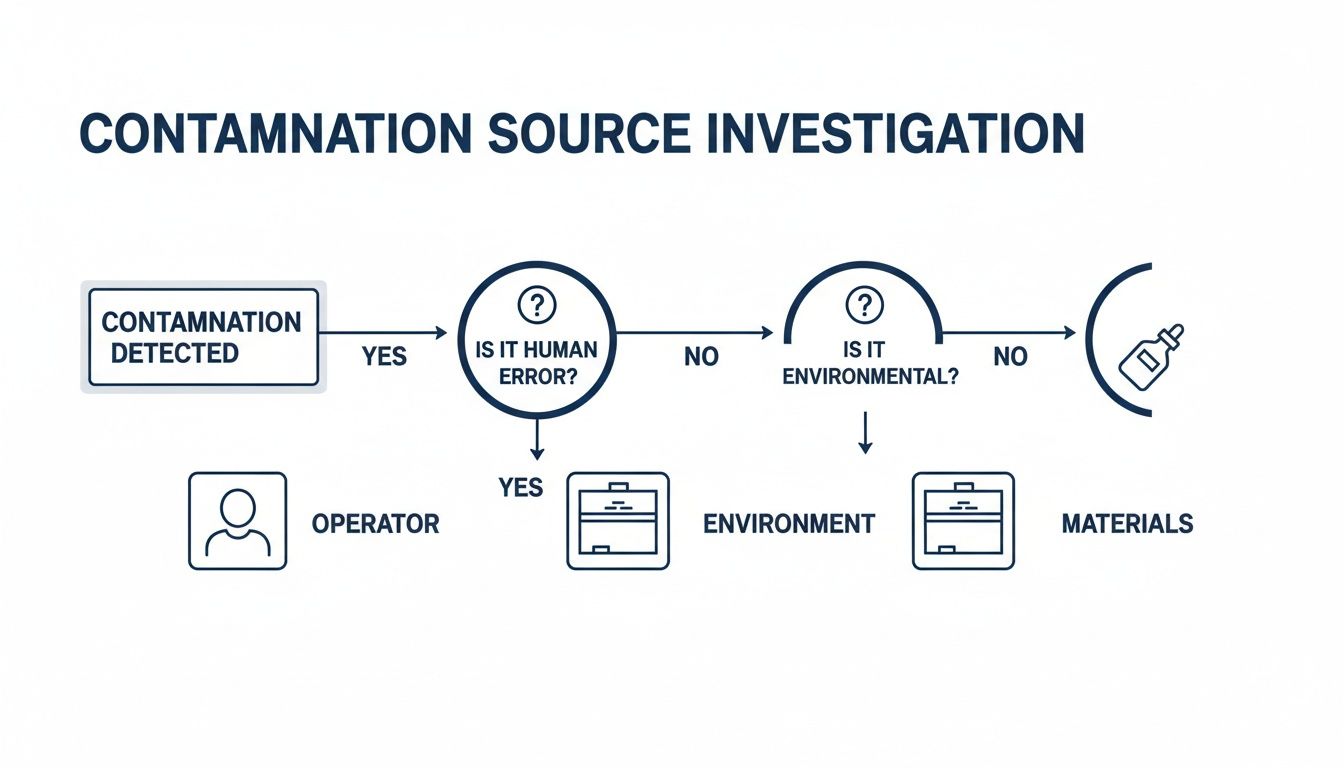
As you can see, the problem can start with the operator, the lab environment, or the materials you’re using. This reinforces why having robust detection methods is non-negotiable at every stage.
The Gold Standard: Polymerase Chain Reaction (PCR)
For finding the true invisible enemies, molecular methods are king. Polymerase Chain Reaction (PCR) is the undisputed gold standard for rapid, sensitive, and specific detection of microbial DNA.
Instead of waiting for something to grow, PCR gets straight to the point. It directly amplifies even tiny amounts of contaminant DNA in your sample, giving you a clear yes-or-no answer in just a few hours.
Mycoplasma contamination is a pervasive, silent threat precisely because it evades visual detection. This is why routine PCR screening is not a luxury but an absolute necessity for ensuring data integrity and research reproducibility.
The real power of PCR lies in its specificity. You can use primers designed to target DNA sequences unique to the most common cell culture contaminants. This is absolutely critical for mycoplasma, which remains one of the most widespread and frustrating problems in the field.
Studies consistently show that 15-35% of continuous cell cultures are contaminated with it, and just eight species are responsible for about 95% of all cases. Targeted PCR kits make screening for these specific culprits fast and incredibly reliable. For a deep dive into this persistent issue, you can explore detailed findings on mycoplasma contamination from ATCC.
Comparison of Contamination Detection Methods
Choosing the right detection tool means balancing a few key factors. While a quick look under the microscope is fast and cheap, its low sensitivity for anything other than a full-blown invasion makes it inadequate for serious quality control. You need to know what each method can—and can't—do.
This table breaks down the pros and cons of the most common approaches.
| Method | Detects | Sensitivity | Speed | Relative Cost |
|---|---|---|---|---|
| Visual Inspection | Gross bacterial & fungal | Very Low | Immediate | Very Low |
| Agar Culture | Most bacteria & fungi | Moderate | Slow (Days) | Low |
| Mycoplasma-Specific Assay | Mycoplasma | High | Moderate (1-3 Days) | Moderate |
| PCR / qPCR | Bacteria, fungi, mycoplasma | Very High | Fast (Hours) | High |
For any lab working with precious primary cells, generating data for publication, or producing therapeutic biologics, the high sensitivity and speed of PCR are simply non-negotiable.
The cost of a single PCR test pales in comparison to the cost of months of invalid research or a failed production batch torpedoed by an undetected cell culture contamination. The only way to work with true confidence is to implement a schedule of regular testing using the most robust methods available.
Building Your Lab's Defense System
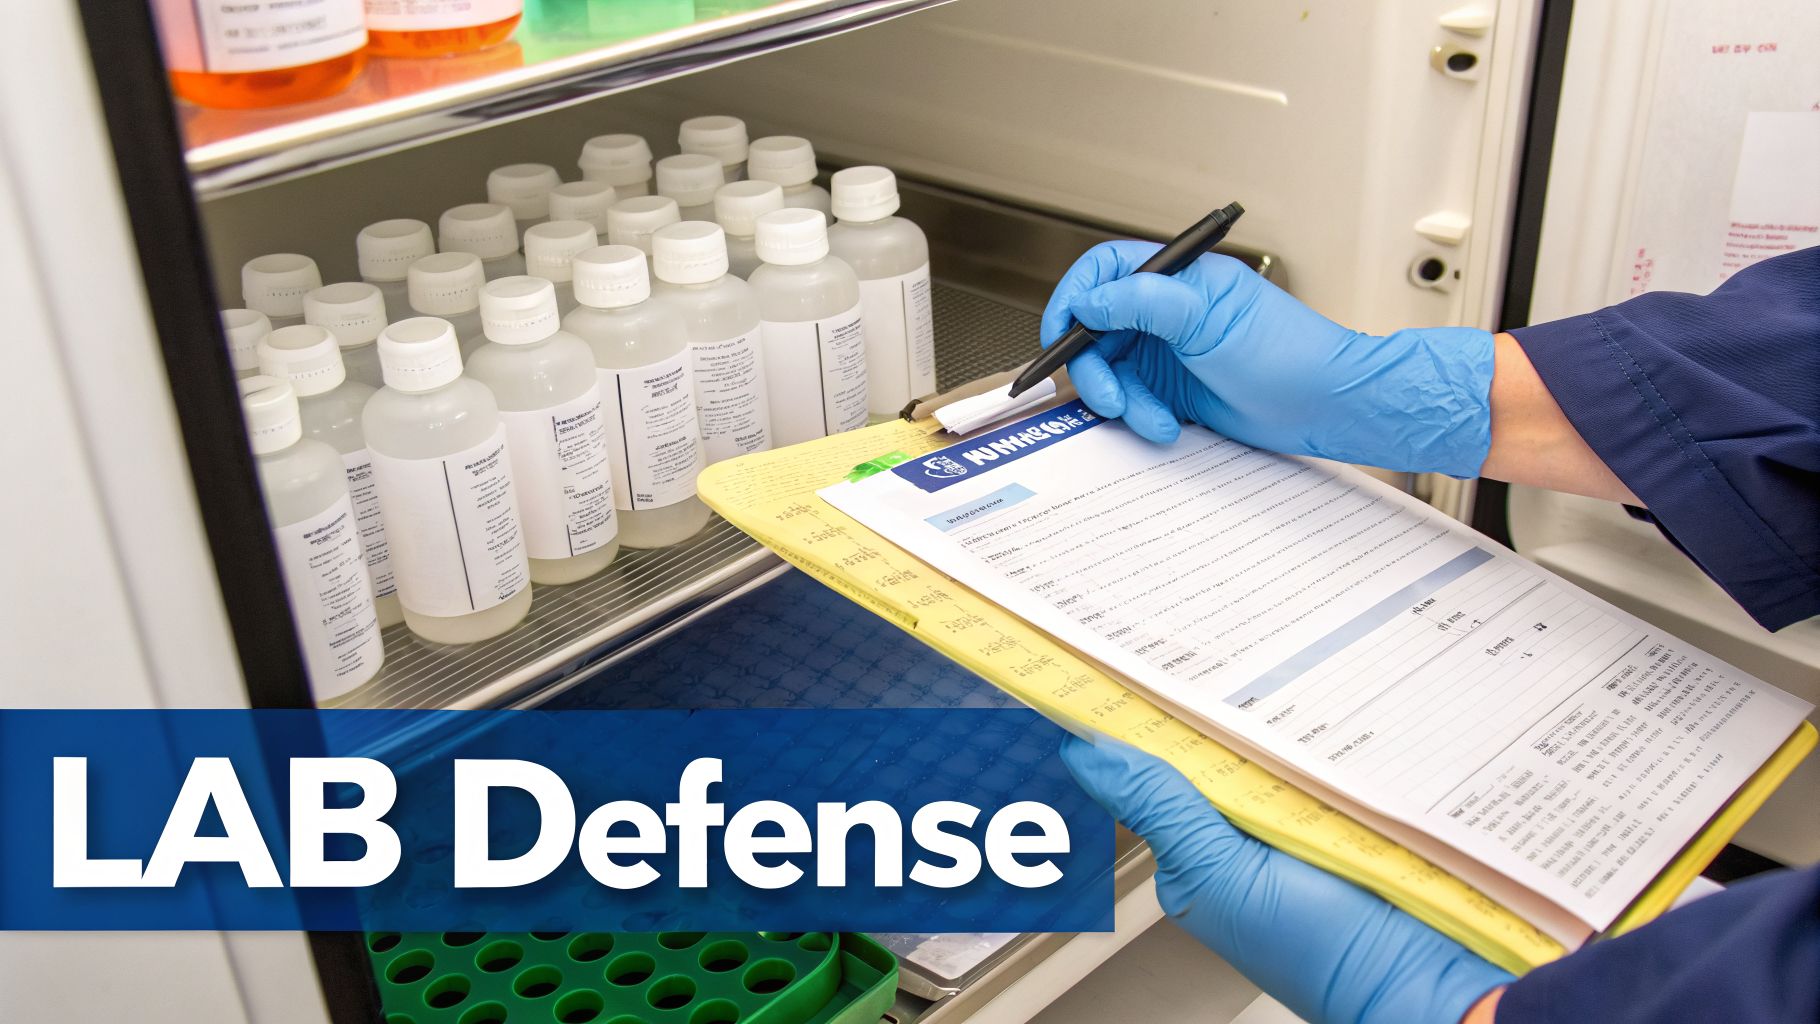
The best defense against cell culture contamination isn't a frantic, last-minute cleanup. It’s a deliberate, multi-layered system built long before any invader gets a foothold. A proactive strategy saves more than just time and money; it protects the one thing that truly matters: the integrity of your data.
Forget the idea of a single magic bullet. Think of your lab's contamination control as a fortress wall, built stone by stone. Every protocol, every piece of equipment, and every reagent is a stone in that wall. A single loose stone—one sloppy technique, one dirty incubator—is all an infection needs to breach your defenses.
This requires a culture of constant vigilance, grounded in four non-negotiable principles: flawless aseptic technique, a fortified lab environment, bulletproof sourcing for materials, and an absolute quarantine-and-test rule for all incoming cells.
Pillar 1: Master Your Aseptic Technique
The most critical component of your defense system is the person in the lab coat. You. Perfecting your aseptic technique turns the biosafety cabinet (BSC) from a simple box into a sterile sanctuary where your cells are safe. Every single movement matters.
Burn these rules into your muscle memory for working in the hood:
- Disinfect Everything. Your gloves, reagent bottles, and any piece of equipment must be sprayed with 70% ethanol before they cross the threshold into the cabinet. No exceptions.
- Respect the Airflow. Never, ever block the front and rear air grilles. An overcrowded hood creates turbulence, destroying the protective air curtain and allowing contaminants to rain down on your cultures.
- Work with a Method. Keep your workspace organized with a logical flow—clean items on one side, used items on the other. Always work at least six inches inside the cabinet, and never pass a non-sterile item over an open culture.
- Minimize Movement. Think through your workflow before you start. Every time your hands move in and out of the hood, you risk pulling contaminated air in with them.
Every time you open a flask, you are performing microsurgery. A moment of distraction—talking over your culture, a fumbled cap, a non-sterile tool grazing the wrong surface—is all it takes for an infection to take root and ruin weeks of work.
Pillar 2: Fortify the Lab Environment
Your lab itself is a silent reservoir for contaminants. A truly robust defense starts with the room itself, which means maintaining optimal indoor air quality to reduce the overall microbial load. Beyond the air you breathe, your everyday equipment can become a breeding ground.
Your CO₂ incubator, for example, is a five-star hotel for microbes: warm, humid, and full of delicious nutrients. Regular, scheduled decontamination isn't optional. When choosing a new incubator, prioritize models with validated high-heat sterilization cycles and internal HEPA filters; they provide an active defense against anything floating in the air.
Water baths are another notorious weak point. That 37°C water is a bacterial paradise if you don't use an antimicrobial agent. Always wipe down flasks and bottles thoroughly after they come out of the bath to avoid dragging that biofilm back into your sterile hood.
Pillar 3: Source High-Quality Materials
Even with perfect technique and a pristine lab, your entire defense can crumble if your raw materials are compromised from the start. Sourcing high-quality, pre-screened reagents and media isn't an expense; it's an investment in your research's credibility.
Be paranoid about these key materials:
- Serum: Fetal Bovine Serum (FBS) is a rich nutrient broth for your cells, but it can also be a delivery vehicle for mycoplasma and viruses. Only buy serum from reputable suppliers who provide a Certificate of Analysis confirming it has been tested and is free of common contaminants.
- Media and Reagents: Stop using large, communal stock bottles of media, trypsin, or buffers. These are a ticking time bomb for cross-contamination. Aliquoting everything into smaller, single-use volumes is a far safer—and ultimately, smarter—practice.
- Water: The water you use for making media and buffers must be the highest quality available—sterile and, critically, endotoxin-free.
Pillar 4: Quarantine and Test All New Cell Lines
Never, ever assume a new cell line is clean. It doesn't matter if it came from a trusted collaborator or a well-known lab down the hall. Treat every incoming vial as a potential Trojan horse, ready to unleash chaos.
Implement a strict quarantine-and-test protocol for every new cell line before it ever enters your main lab population. This is especially true for viral contamination, which can be devastatingly widespread and difficult to detect. For instance, one key study found that viral contamination plagues over 25% of common cell lines, with non-cytopathic viruses proving even more elusive than mycoplasma. Epstein-Barr Virus (EBV), which infects most humans, often hides in B-cell lines from research banks, posing a huge risk of lab-wide spread. If you want to dive deeper, you can explore the full findings on viral contaminants in cell lines.
By weaving these four pillars into your lab's standard operating procedures, you build a system that proactively protects your most valuable assets. This culture of vigilance is the real foundation of reproducible, high-impact science.
What to Do When Contamination Happens
That feeling when you pull a flask from the incubator and see it’s contaminated is a gut punch. All that work, potentially down the drain. But despite your best efforts, it happens to everyone. The absolute key is not to panic, but to have a calm, decisive action plan that contains the damage and protects the rest of your lab.
The first move is always the same, no exceptions: isolate the contaminated flask immediately. Get it out of the incubator and move it to a designated quarantine area—far from your other precious cultures—to stop the infection from spreading. What you do next depends entirely on what kind of contamination you’re dealing with and how valuable those cells really are.
To Discard or Attempt to Salvage
For the vast majority of common bacterial and fungal infections, the answer is brutally simple: discard the culture. The risk of aggressive bacteria or fungal spores aerosolizing and spreading throughout your entire lab is just too high. Trying to rescue a single flask is never worth jeopardizing months or even years of your entire research program.
The protocol is non-negotiable and must be followed with military precision:
- Add bleach directly into the flask to kill the microbes. Let it sit for at least 20 minutes to ensure everything is dead.
- Securely dispose of the entire flask in a biohazard bag.
- Systematically and thoroughly decontaminate the biosafety cabinet, the incubator, and any piece of equipment the flask even came close to touching.
This aggressive response is your firewall. It stops a single infection from turning into a lab-wide catastrophe. It’s a tough call to make in the moment, but it's the right one 99% of the time.
When you find a bacterial or fungal contamination, the only professional response is immediate, aggressive decontamination. Sacrificing one culture is a small, necessary price to pay to protect your entire body of work from a catastrophic, lab-wide outbreak.
Rescuing Irreplaceable Cultures
But that hard-and-fast "discard" rule has one big exception: invaluable or truly irreplaceable cultures. We're talking about primary cells from a one-of-a-kind patient biopsy, a painstakingly generated iPSC line that took months to create, or cells from a transgenic animal model that was years in the making.
For these high-value assets, especially if the culprit is a stealthy mycoplasma contamination, attempting to salvage the culture might be your only real option.
Mycoplasma eradication is absolutely possible, but it’s not a simple fix—it demands a specialized treatment regimen. This usually involves using a cocktail of targeted antibiotics, like those in commercial mycoplasma eradication kits, which are specifically designed to kill these cell-wall-deficient organisms without being toxic to your cells.
If you go down this road, be ready for a rigorous and patient process:
- Treat the culture exactly as the manufacturer’s protocol dictates, which often takes several weeks of sequential application.
- Re-test the culture using a highly sensitive method like PCR after the treatment cycle is complete to confirm the mycoplasma is actually gone. Don't just assume it worked.
- Monitor the cells closely for any changes in their growth, morphology, or function. The treatment itself can sometimes alter cell behavior, so you need to be sure your rescued cells are still valid for your experiments.
Deciding whether to discard or salvage is a critical judgment call that every scientist has to make. You have to weigh the very real risk of cross-contamination against the intrinsic value of the cells. Having a clear, risk-based framework in place before disaster strikes will help you make a swift, effective decision that contains the crisis and protects the integrity of your lab.
Contamination in the Trenches: Your Questions Answered
Even in the most well-run labs, questions about contamination are a daily reality. Here are some quick, no-nonsense answers to the questions we hear most often from researchers in the field.
How Often Should I Test for Mycoplasma?
When it comes to mycoplasma, a consistent testing schedule is the only real defense against this invisible threat. For any continuous cell line, you should be testing at three critical points:
- The moment you receive a new cell line, no matter the source.
- Right before you cryopreserve a batch, to ensure your frozen stocks are clean from the start.
- Every 1-2 months during routine culturing to catch any new infection before it spreads.
If you’re in a high-traffic lab with multiple users, gearing up for a critical experiment, or just have a bad feeling, test more often. Consistency is what separates a minor inconvenience from a lab-wide disaster.
Don’t fall into the trap of using continuous antibiotics to prevent mycoplasma. It’s a false sense of security. This practice often just masks a low-level infection and encourages resistant strains, all while your data is being silently corrupted.
Can I Salvage a Culture with Fungal Contamination?
The short answer is no. The professional answer is absolutely not.
Visible fungal contamination, especially mold, means your flask is full of spores that are now airborne. Trying to "rescue" that one culture puts every other plate, flask, and piece of equipment in your lab at risk. A single contaminated flask can easily trigger a lab-wide outbreak that takes weeks to clean up.
It's never worth it. The safest and most responsible action is to decontaminate the culture immediately and discard it properly.
What’s the First Sign of Bacterial Contamination?
Bacterial contamination usually doesn't creep in; it announces itself with authority. The most classic first sign is a rapid pH drop, which turns the phenol red indicator in your media from a healthy pinkish-red to a glaring, acidic yellow.
Often, this happens overnight. You'll also see the media go from clear to cloudy or murky. If you put it under the microscope, you'll see what confirms your fears: countless tiny, wiggling black dots zipping around between your cells. That's a full-blown bacterial invasion.
At PurMa Biologics, we know that great science depends on clean cultures. Protect your research from the ground up with our comprehensive solutions—from high-purity media and reagents to our industry-leading mycoplasma detection and eradication kits. Safeguard your work by exploring our products.