

Don't let anyone tell you that learning how to use a hemocytometer is an outdated skill. In an age of fancy automated counters, this simple glass slide remains the absolute gold standard for cell counting—and for good reason. Before we get into the nitty-gritty of pipetting and counting, let’s be clear on why this manual method is a non-negotiable part of any serious cell biologist’s toolkit.
Why Manual Cell Counting Still Reigns Supreme
With all the high-tech automation in modern labs, why are we still talking about a technique from the 1870s? The answer is simple: ground truth. The hemocytometer works on a beautifully straightforward principle: a precisely etched grid on the slide defines an exact, unchangeable volume—usually 0.1 microliters. This allows for direct, reliable quantification that isn't subject to software glitches or miscalibration.
This physical certainty gives you the power to independently verify any result, especially those from sophisticated automated counters. Sure, automated systems are fast, but they can easily mistake cell debris for live cells or get confused by clustered cells, spitting out numbers that look plausible but are flat-out wrong. The hemocytometer puts the ultimate control and visual confirmation back in your hands. You see the cells. You make the call.
The Foundation of Modern Cell Counting
The reliability we depend on today came from a 19th-century challenge: accurately counting blood cells. French anatomist Louis-Charles Malassez tackled this by inventing the first hemocytometer in 1874. He created a thick glass slide with a grid that trapped a known volume of liquid, allowing researchers to calculate cell concentration with simple multiplication.
By 1912, refined versions were hailed as "the most widely used and satisfactory instrument for counting corpuscles." The design was so effective that it has barely changed. You can explore the full history of the hemocytometer to see just how foundational this tool is, but the core takeaway is its unwavering consistency.
The hemocytometer isn’t just a tool; it’s a method for establishing ground truth. Every count you perform validates not only your sample but also your confidence as a scientist.
Why This Skill Is Non-Negotiable
Mastering the hemocytometer is more than a rite of passage; it's a practical necessity for producing dependable data. Here’s why it’s so critical:
- Validating Automated Systems: Your expensive automated counter needs regular reality checks. A quick manual count is the definitive way to confirm your machine hasn't drifted and is giving you accurate data. Think of it as calibrating the machine with your own eyes.
- Cost-Effectiveness and Accessibility: A hemocytometer and a basic microscope are all you need. This makes accurate cell counting accessible to any lab, from a small academic startup to a massive bioproduction facility, without a hefty capital investment.
- Unmatched Versatility: This single tool works for almost any cell type you can throw at it—mammalian cells, yeast, spores, even algae—without needing different software or settings for each.
Ultimately, your ability to perform an accurate manual count is the bedrock of your experimental integrity. It's the difference between questionable data and reproducible, publishable results.
An accurate cell count is born on the lab bench, not under the microscope. This is your pre-flight check, and getting it right is the single most important thing you can do to ensure your data is reliable. In my experience, almost all major counting errors trace back to sloppy preparation—a problem that's thankfully easy to prevent.
Before you even touch a pipette, get your workspace in order. A cluttered bench is an invitation for mistakes. Start by gathering everything you'll need so it's within arm's reach.
Your Cell Counting Toolkit
Gather these essential items before you start to ensure a smooth and accurate cell counting workflow.
| Item | Description & Pro-Tip |
|---|---|
| Hemocytometer & Coverslip | The star of the show. Make sure it's the right type for your cells. |
| Microscope | A basic brightfield microscope is all you need. |
| Pipettes & Tips | Calibrated P20 or P200 pipettes are a must for accurate volumes. |
| Cell Suspension | The culture you're about to count. |
| 70% Ethanol & Wipes | For cleaning. Use lint-free wipes to avoid leaving fibers behind. |
| Trypan Blue Stain | Or another viability dye. Make sure it's filtered and not expired. |
| Microcentrifuge Tubes | For making your dilution. |
| Cell Counter/Tally Counter | Your thumb will thank you. A simple two-button counter (one for live, one for dead) is perfect. |
Having this simple toolkit ready prevents you from scrambling mid-process, which is when contamination or other errors are most likely to happen.
Preparing the Hemocytometer and Cell Suspension
First, give your hemocytometer and its specialized coverslip a thorough cleaning. A quick wipe with 70% ethanol followed by a dry, lint-free tissue is non-negotiable. Any dust, a stray fingerprint, or residue from a previous count will look surprisingly like a cell under the microscope, instantly throwing off your numbers.
Once it's pristine, place the coverslip over the counting area. If you see a shimmering, rainbow-like pattern appear where the glass meets, you've nailed it. These are called Newton's rings, and they confirm you have a perfect seal. This is critical—it means the chamber is at the correct height, which dictates the precise volume you're about to count.
Now for the most crucial step: your cell suspension. If your cells have settled into a pellet at the bottom of the tube—and they will—your count will be completely useless.
A well-mixed sample is the foundation of an accurate count. Failure to properly resuspend your cells is like trying to estimate the population of a city by only counting people on a single, quiet street.
Mix the cells gently but thoroughly. Pipetting up and down a few times or inverting the tube works perfectly. Just don't be tempted to hit it on the vortexer. The intense shear stress can easily damage or lyse your cells, which will make your viability numbers look artificially low. The goal is a perfectly uniform, single-cell suspension with no clumps in sight.
Dilution and Viability Staining
If you're working with a healthy, dense culture, you'll need to dilute it. Trying to count a grid that’s overflowing with cells is a recipe for frustration and huge errors. As a rule of thumb, you want to aim for something in the ballpark of 100-200 total cells across the large squares you plan to count. A 1:10 dilution is a common starting point, but you'll need to adjust based on your cell line's confluency.
For viability, you'll mix your cell suspension with a stain like Trypan Blue. This is almost always done at a 1:1 ratio. So, if you take 20 µL of your (already mixed) cell suspension, you’ll add 20 µL of Trypan Blue. Don't forget to account for this second dilution when you do your final math.
Here’s a rookie mistake I see all the time: letting the cells incubate in Trypan Blue for too long. Healthy cells are great at excluding the dye, but if they sit in it for more than 5-10 minutes, the stain becomes toxic. Healthy cells will start to die and take up the stain, falsely tanking your viability percentage. To avoid this, get your sample loaded and start counting immediately after staining.
Loading and Counting Without Common Mistakes
How you load the chamber and count the cells is where precision really pays off. A great count depends on a perfectly loaded slide, and this is one of those simple steps that’s surprisingly easy to get wrong. The trick is to let capillary action do the work for you.
Gently pipette your prepared cell suspension—usually 10 µL for a standard Neubauer chamber—into the small V-shaped groove at the edge of the coverslip.
The liquid should flow smoothly and evenly into the space, filling it completely. You have to resist the urge to slam the pipette plunger down. This almost always leads to overfilling, where the sample floods into the moats or gets under the coverslip supports. An overfilled chamber alters the volume and can easily skew your final count by 10-15%.
On the other hand, underfilling or trapping an air bubble is just as bad. A big air bubble sitting over the grid obscures your counting area, forcing you to clean the whole thing and start over. Once you master a gentle, steady pipetting motion, you'll find loading becomes second nature.
A good count always starts with good prep. Getting the sample ready is just as important as the count itself.
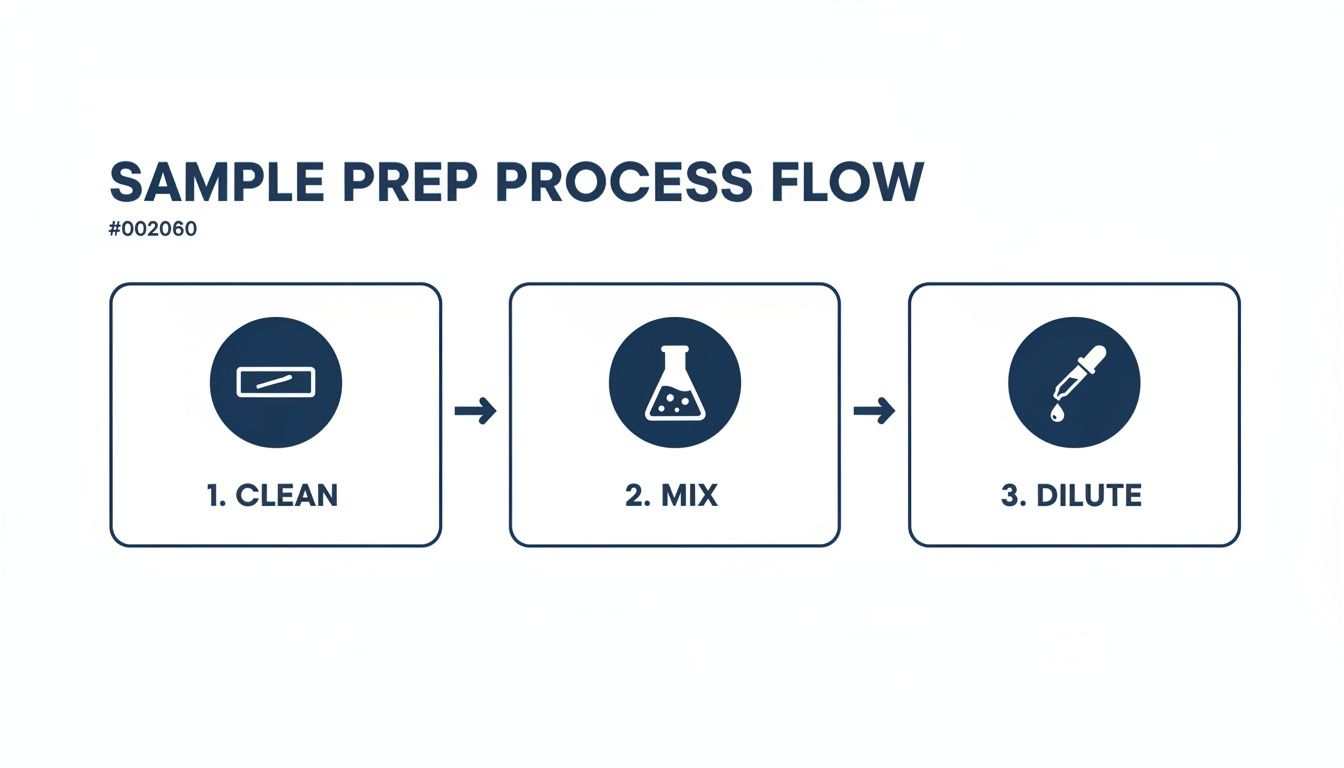
It’s a simple workflow: a clean slide, a well-mixed sample, and a precise dilution are the foundation for everything that follows.
Navigating the Grid and Microscope
Once the chamber is loaded, don't rush it straight to the microscope. Let the slide sit undisturbed on the bench for 2-3 minutes. This is a crucial pause. It gives your cells time to settle flat onto the etched grid, which keeps them from floating around and making an accurate count impossible.
Now, place the slide on the microscope stage. Start with a low-power objective (10x is usually perfect) to find and focus on the grid lines. They should appear sharp and clear. From there, you can start moving systematically through the grid to count your cells.
The L-Rule for Borderline Cells
So what do you do with cells touching the grid lines? If you just guess, your reproducibility is shot. This is where you have to use a consistent counting rule, and the most common and effective one is the "L-rule."
The L-rule is your non-negotiable standard for handling cells on the boundaries. It eliminates ambiguity and ensures that every cell is counted once—and only once.
To use it, you just pre-select two borders of a square to be your "count" lines and the other two to be your "ignore" lines. For instance:
- Count all cells fully inside the square.
- Count any cell touching the top or left border lines.
- Ignore any cell touching the bottom or right border lines.
This system creates a virtual 'L' shape of inclusion. By applying this rule consistently to every single square you count, you avoid both double-counting and skipping cells, which can easily cut your counting errors by up to 25%.
Achieving precise cell counts over and over again comes down to following each step with care. If you're looking for pointers on developing clear lab instructions, you might find our guide on how to write a procedure useful. Sticking to a standardized protocol is what separates amateur results from professional ones.
From Raw Counts to Actionable Data
You’ve carefully clicked your way through the grid, tallying up the cells. Now it's time to turn those raw numbers into the data that actually matters for your experiment: cell concentration and viability. This is where the math comes in, but don't worry—it’s more straightforward than it looks.
The real magic of a hemocytometer is its fixed, known volume. Each of the large 1 mm x 1 mm squares on a standard Neubauer chamber holds precisely 0.1 mm³ of your cell suspension. That’s the same as 0.0001 mL, and this constant is the key to every calculation you're about to do.
Calculating Cell Concentration
Your end goal is almost always to figure out the number of cells per milliliter (cells/mL). The formula is designed to bridge the gap between the small number you counted on the slide and this standard laboratory unit, all while accounting for any dilutions you made.
The core formula looks like this:
Cell Concentration (cells/mL) = (Average Cell Count per Square × Dilution Factor) / Volume of One Square (in mL)
Let’s break that down. The "Volume of One Square" is a constant: 0.0001 mL. Dividing by 0.0001 is the same as multiplying by 10,000 (or 10⁴). This is where that famous 10⁴ multiplication factor comes from—it’s just a shortcut for the volume conversion.
Think of the 10⁴ factor as your bridge from the tiny, 0.1 microliter volume on the slide to the standard laboratory unit of one milliliter. It scales your count up to where it needs to be.
Let's walk through a real-world scenario. Imagine you counted the four large corner squares and the central square, for a total of 5 squares.
- Your Raw Counts:
- Square 1: 85 cells
- Square 2: 76 cells
- Square 3: 93 cells
- Square 4: 82 cells
- Square 5: 79 cells
First, get your average. You counted a total of 415 cells across 5 squares, giving you an average of 83 cells per square.
Now, think about your dilution. A common practice is to mix your cell suspension 1:1 with Trypan Blue. This means your dilution factor is 2.
Time to plug it all into the formula:
Concentration = (83 cells × 2) / 0.0001 mL = 1,660,000 cells/mL
Or, using the handy multiplier we just discussed:
Concentration = 83 × 2 × 10⁴ = 1,660,000 cells/mL
You can write this more cleanly in scientific notation as 1.66 x 10⁶ cells/mL.
Calculating Cell Viability
If you used Trypan Blue, you should have tallied your live (clear, bright) and dead (blue, blurry) cells separately. Figuring out the percentage of viable cells is even easier.
The formula for viability is simple:
Viability (%) = (Number of Live Cells / Total Number of Cells) × 100
Let’s stick with our example. Out of the total 415 cells you counted across the five squares, let's say your tally shows 386 were live and 29 were dead.
Viability (%) = (386 / 415) × 100 = 93.01%
So, what do you have now? Two critical pieces of data: a total cell concentration of 1.66 x 10⁶ cells/mL with a viability of 93%. This is the actionable information you need to accurately seed your next flask, plate your experiment, or move on with your bioproduction workflow.
Troubleshooting Your Count for Better Accuracy
Even with careful prep, things can go wrong under the microscope. Don’t worry—every researcher has stared at a clumpy, unevenly loaded hemocytometer and wondered what happened. Learning to spot and fix these common issues is what turns a frustrating count into a reliable one.
One of the most frequent headaches is seeing cells clustered on one side of the grid. If your distribution is uneven, your count will be skewed. This almost always happens when the cells haven't been given enough time to settle. Letting the slide sit for 2-3 minutes before counting is non-negotiable; it lets gravity do its job and ensures a uniform monolayer.
Your loading technique could also be the culprit. Blasting the sample into the chamber creates currents that push cells around. The goal is a gentle, even flow guided by capillary action. Let the hemocytometer pull the sample in on its own.
Tackling Persistent Cell Clumps
Seeing clumps of cells on your grid is a major problem. It makes an accurate count impossible and points to a flaw in your sample prep—something that needs fixing before you even get to the microscope.
The most common cause is simply not mixing well enough. When you resuspend your cell pellet, be gentle but thorough. Pipette the suspension up and down repeatedly to break apart aggregates. Whatever you do, avoid vortexing. The mechanical stress will lyse fragile cells and give you an artificially low viability reading.
If gentle pipetting isn't breaking up the clumps, you might have over-trypsinized your cells or let them sit too long after detachment, causing them to get sticky. Double-check your trypsin incubation time and be ready to neutralize it promptly.
Distinguishing Live vs. Dead Cells
At first, telling a live cell from a dead one can be tricky, especially if your microscope’s focus or lighting isn't quite right. Dead cells stained with Trypan Blue will look dark and often have a fuzzy, indistinct membrane. In contrast, live cells are bright, round, and have a sharp, clear border.
If you're struggling to tell them apart, play with the fine focus knob. As you move through the focal plane, live cells will "sparkle" or have a distinct halo. Dead, stained cells won't.
Timing is also critical here. If your cells sit in Trypan Blue for more than 5-10 minutes, the dye starts becoming toxic even to healthy cells. They'll begin to take up the stain, blurring the line between live and dead and leading to a falsely low viability percentage.
The key is to work efficiently. Stain the sample, load the chamber, and get to counting right away.
To help you diagnose problems on the fly, I've put together a quick troubleshooting guide for the most common issues you'll encounter.
Common Hemocytometer Problems and How to Fix Them
| Problem | Potential Cause | Solution |
|---|---|---|
| Uneven Cell Distribution | Cells not settled; uneven loading flow. | Let slide sit for 2-3 minutes; load slowly with capillary action. |
| Air Bubbles in Chamber | Improper loading; dirty slide/coverslip. | Reload gently; ensure slide and coverslip are pristine. |
| Cells are Clumped | Insufficient mixing; over-trypsinization. | Mix sample thoroughly by pipetting; optimize trypsin protocol. |
| Count is Too High/Low | Incorrect dilution; improper mixing. | Adjust dilution factor; resuspend sample completely before aliquoting. |
Keep this table handy at your workstation. Being able to quickly identify the cause of a bad count saves time and, more importantly, ensures the data you generate is something you can actually trust.
Answering Your Hemocytometer Questions
As you get comfortable with the hemocytometer, a few common questions always seem to surface. Don't worry, even scientists with years of experience double-check these points. Nailing down the answers will sharpen your technique and give you real confidence in your numbers.
Let's run through the most frequent hang-ups people have during manual cell counting. This is your go-to guide for troubleshooting in the middle of an experiment.
What’s the Right Number of Cells to Count?
For your result to be statistically solid, you need to count between 100-200 total cells across the squares you've chosen. This range is the statistical sweet spot for getting an accurate count.
If your total is under 100 cells, the sample is too dilute. Your final number will have a huge margin of error because you're guessing based on too little data. The fix is easy: just spin down a larger volume of your culture and resuspend it in less buffer or media to concentrate it.
On the flip side, if the grid is so packed that cells are overlapping and you can't tell them apart, your sample is way too concentrated. This always leads to undercounting and a lot of frustration. Go back and add a bit more dilution buffer until the cells are sparse enough to count cleanly. Hitting that 100-200 cell target is the single best thing you can do to minimize sampling error.
How Does the L-Rule Actually Work?
The L-rule is a simple, standardized way to deal with cells that land right on the boundary lines. It's designed to stop you from guessing, which prevents the double-counting or skipping of cells—a huge source of error between different people counting the same sample.
Here’s how you do it:
- Picture an "L" shape formed by the top and left lines of any given square.
- You count every single cell that is fully inside that square.
- You also count any cell that touches either the top or the left boundary line.
- Crucially, you completely ignore any cell that touches the bottom or right boundary lines.
By applying this rule consistently to every square you count, you build a system that guarantees each border cell is counted in only one square. It's a simple habit that dramatically improves how reproducible your counts are.
Can I Wash and Reuse a Disposable Hemocytometer?
Absolutely not. Disposable hemocytometer slides are made for single use only. Trying to wash and reuse them is just asking for bad data.
The plastic surfaces scratch incredibly easily, even with gentle washing. The tiniest, most microscopic scratch can change the precise depth of the chamber. That completely throws off the volume calculation and makes your results meaningless. It's also nearly impossible to wash away every last cell and detergent residue, creating a serious risk of contaminating your next sample. For clean, accurate, and reliable data, always grab a fresh disposable slide.
How Long Should I Wait to Count After Loading?
Patience is everything right after you load the chamber. You have to let the slide sit completely still for 2-3 minutes before you even think about putting it under the microscope.
This short pause gives the cells time to settle evenly onto the bottom of the chamber, creating a single, sharp focal plane. If you count too soon, cells will still be floating and drifting around, making an accurate tally impossible. But don't wait too long. After about 10 minutes, the liquid can start to evaporate from the edges of the coverslip. This concentrates your sample and will artificially inflate your cell count. That 2-3 minute window is your target for a perfect count.
For over three decades, PurMa Biologics has been the trusted partner for researchers needing high-quality cell culture reagents. From our expansive library of media formulations to specialized sera and buffers, we provide the tools to ensure your results are reliable and reproducible. Safeguard your research and achieve consistent outcomes by exploring our solutions.